Posted on

Phare Ponleu Selpak – Pigment making class

work-title-Studio_journal

Phare Ponleu Selpak
Pigment making workshop

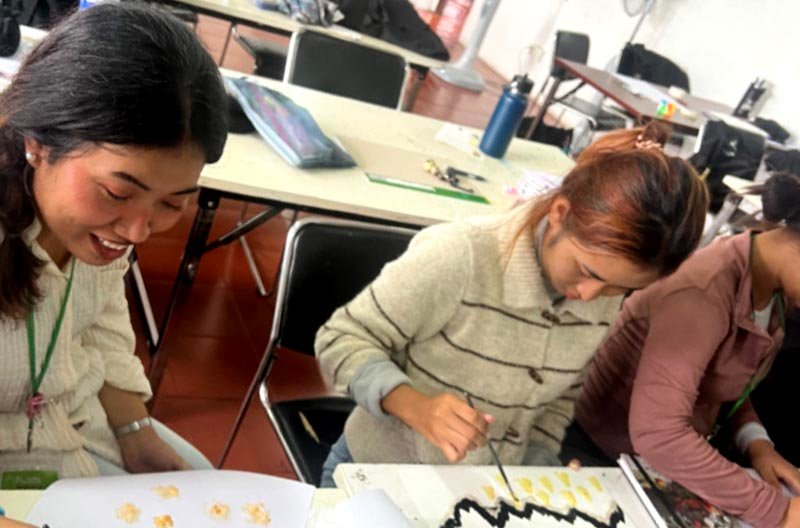
Whenever I have the opportunity to return to Battambang, my former home in Cambodia, I always enjoy visiting and teaching at Phare Ponleu Selpak, an art school with around 1,000 students.

One of my favourite workshops to teach is pigment making. We begin with a short talk about pigments, how they are created and a little of their history. There is always a rather smelly story involving egg yolk, which adds a bit of humour to the afternoon.

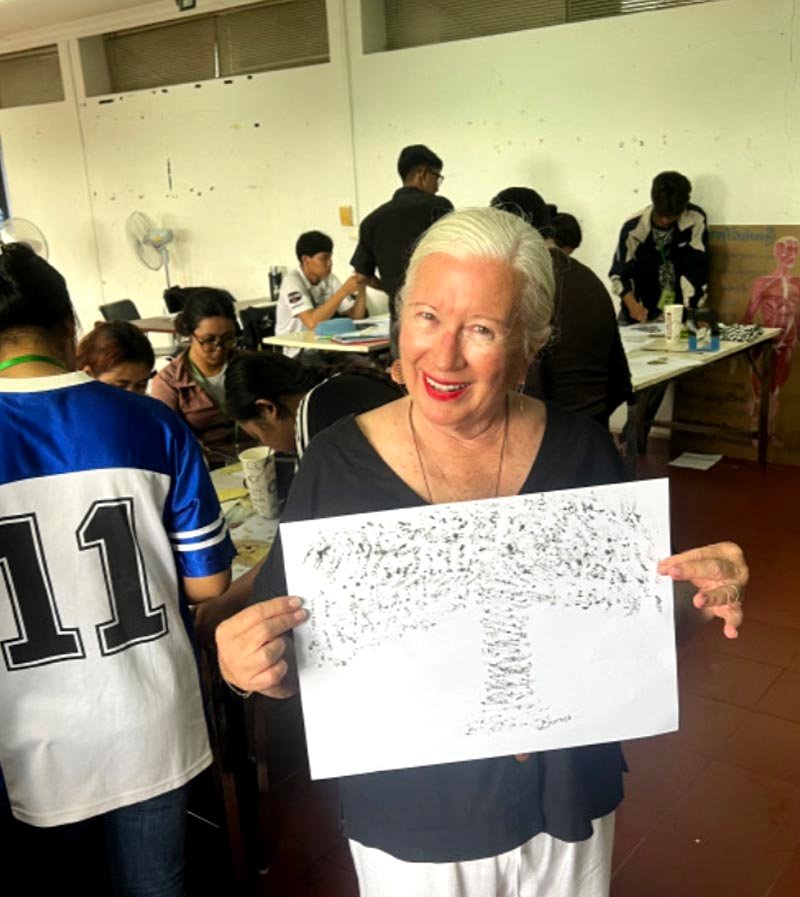
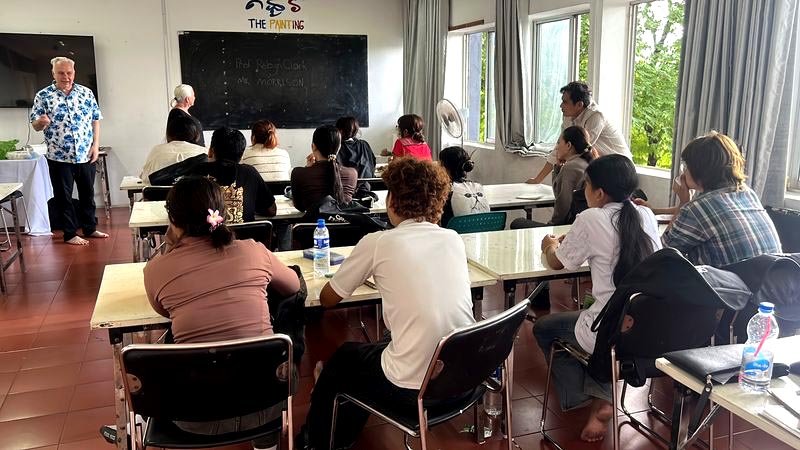
This year, I was joined by Professor Robyn Clark, whom I had met through The Pinnaroo Project, which explored the effects of art on a community. It was wonderful having Robyn there. She brought a scientific perspective to the workshop, explaining how art can affect both individuals and the wider community.

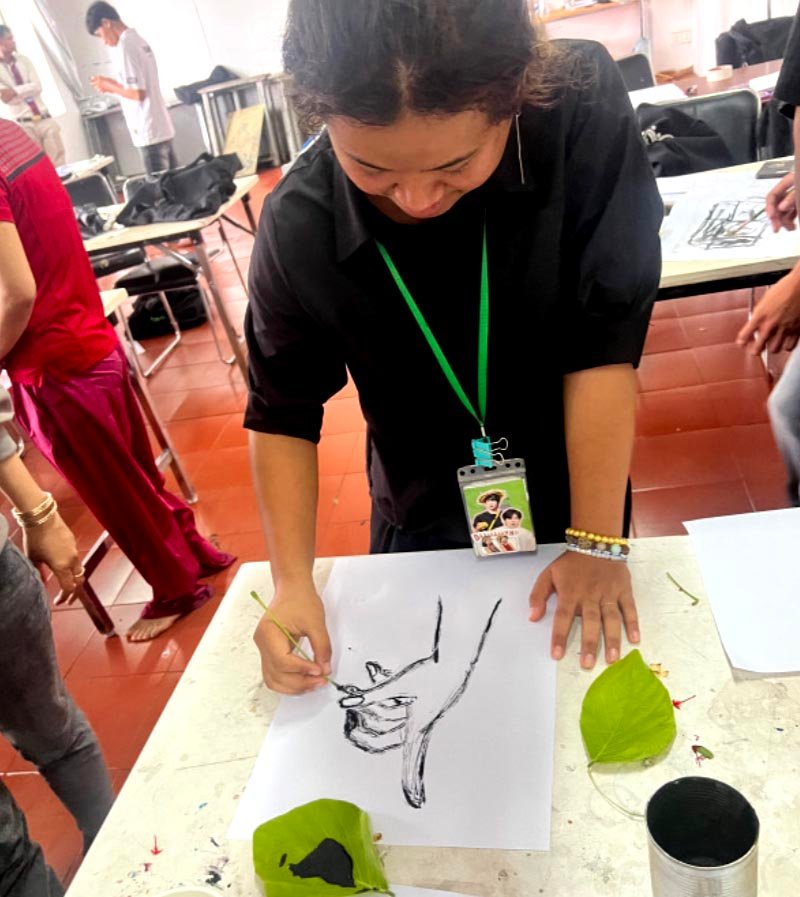
After our introduction, I sent the students outside to collect rocks, soil, vegetation and anything else they thought might produce a colour.

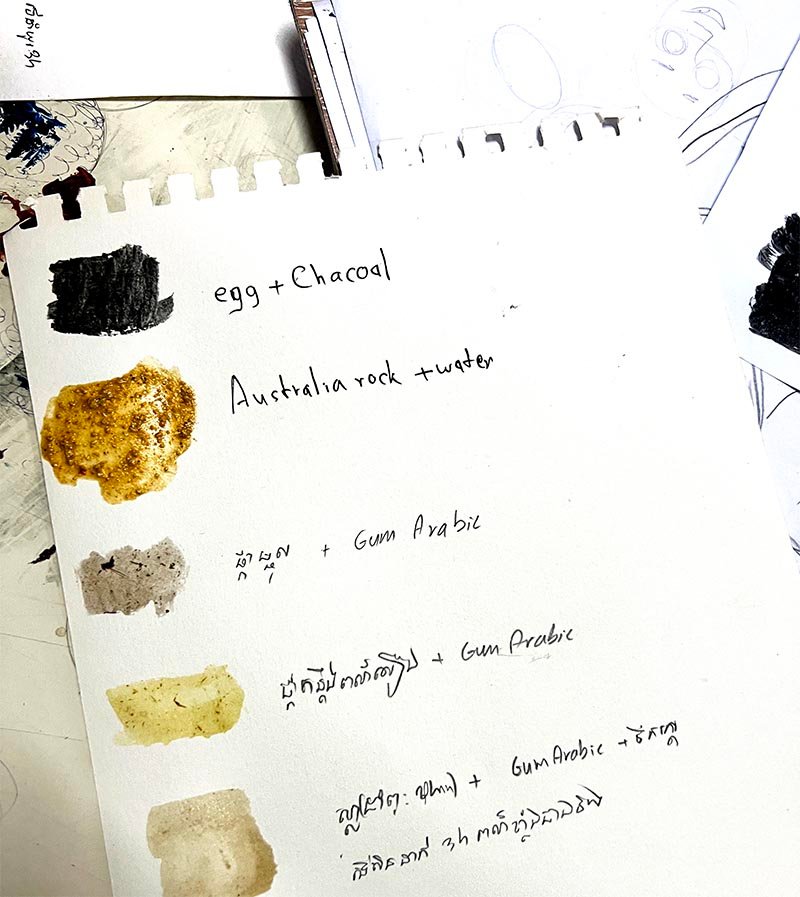
When they returned with their discoveries, I showed them how to turn these materials into pigments and create their own paints. An important part of the process was learning to record their recipes, noting the materials, quantities and methods they had used.

These notes allow the students to reproduce a successful pigment, but perhaps more importantly, they help them learn from the ones that don’t last. If a painting fades after a few years, they will know which recipe not to repeat.

Finally, with our freshly made paints, everyone created a painting or two. There is something wonderful about seeing students discover colour in the most ordinary materials, then turn those discoveries into art.

It is always such a fun and rewarding day, full of experimentation, surprises and laughter.

I’m looking forward to returning to Phare to teach again in July 2027.

Posted on

The Rhythm of Repetition — where devotion becomes form

The Rhythm of Repetition — where devotion becomes form

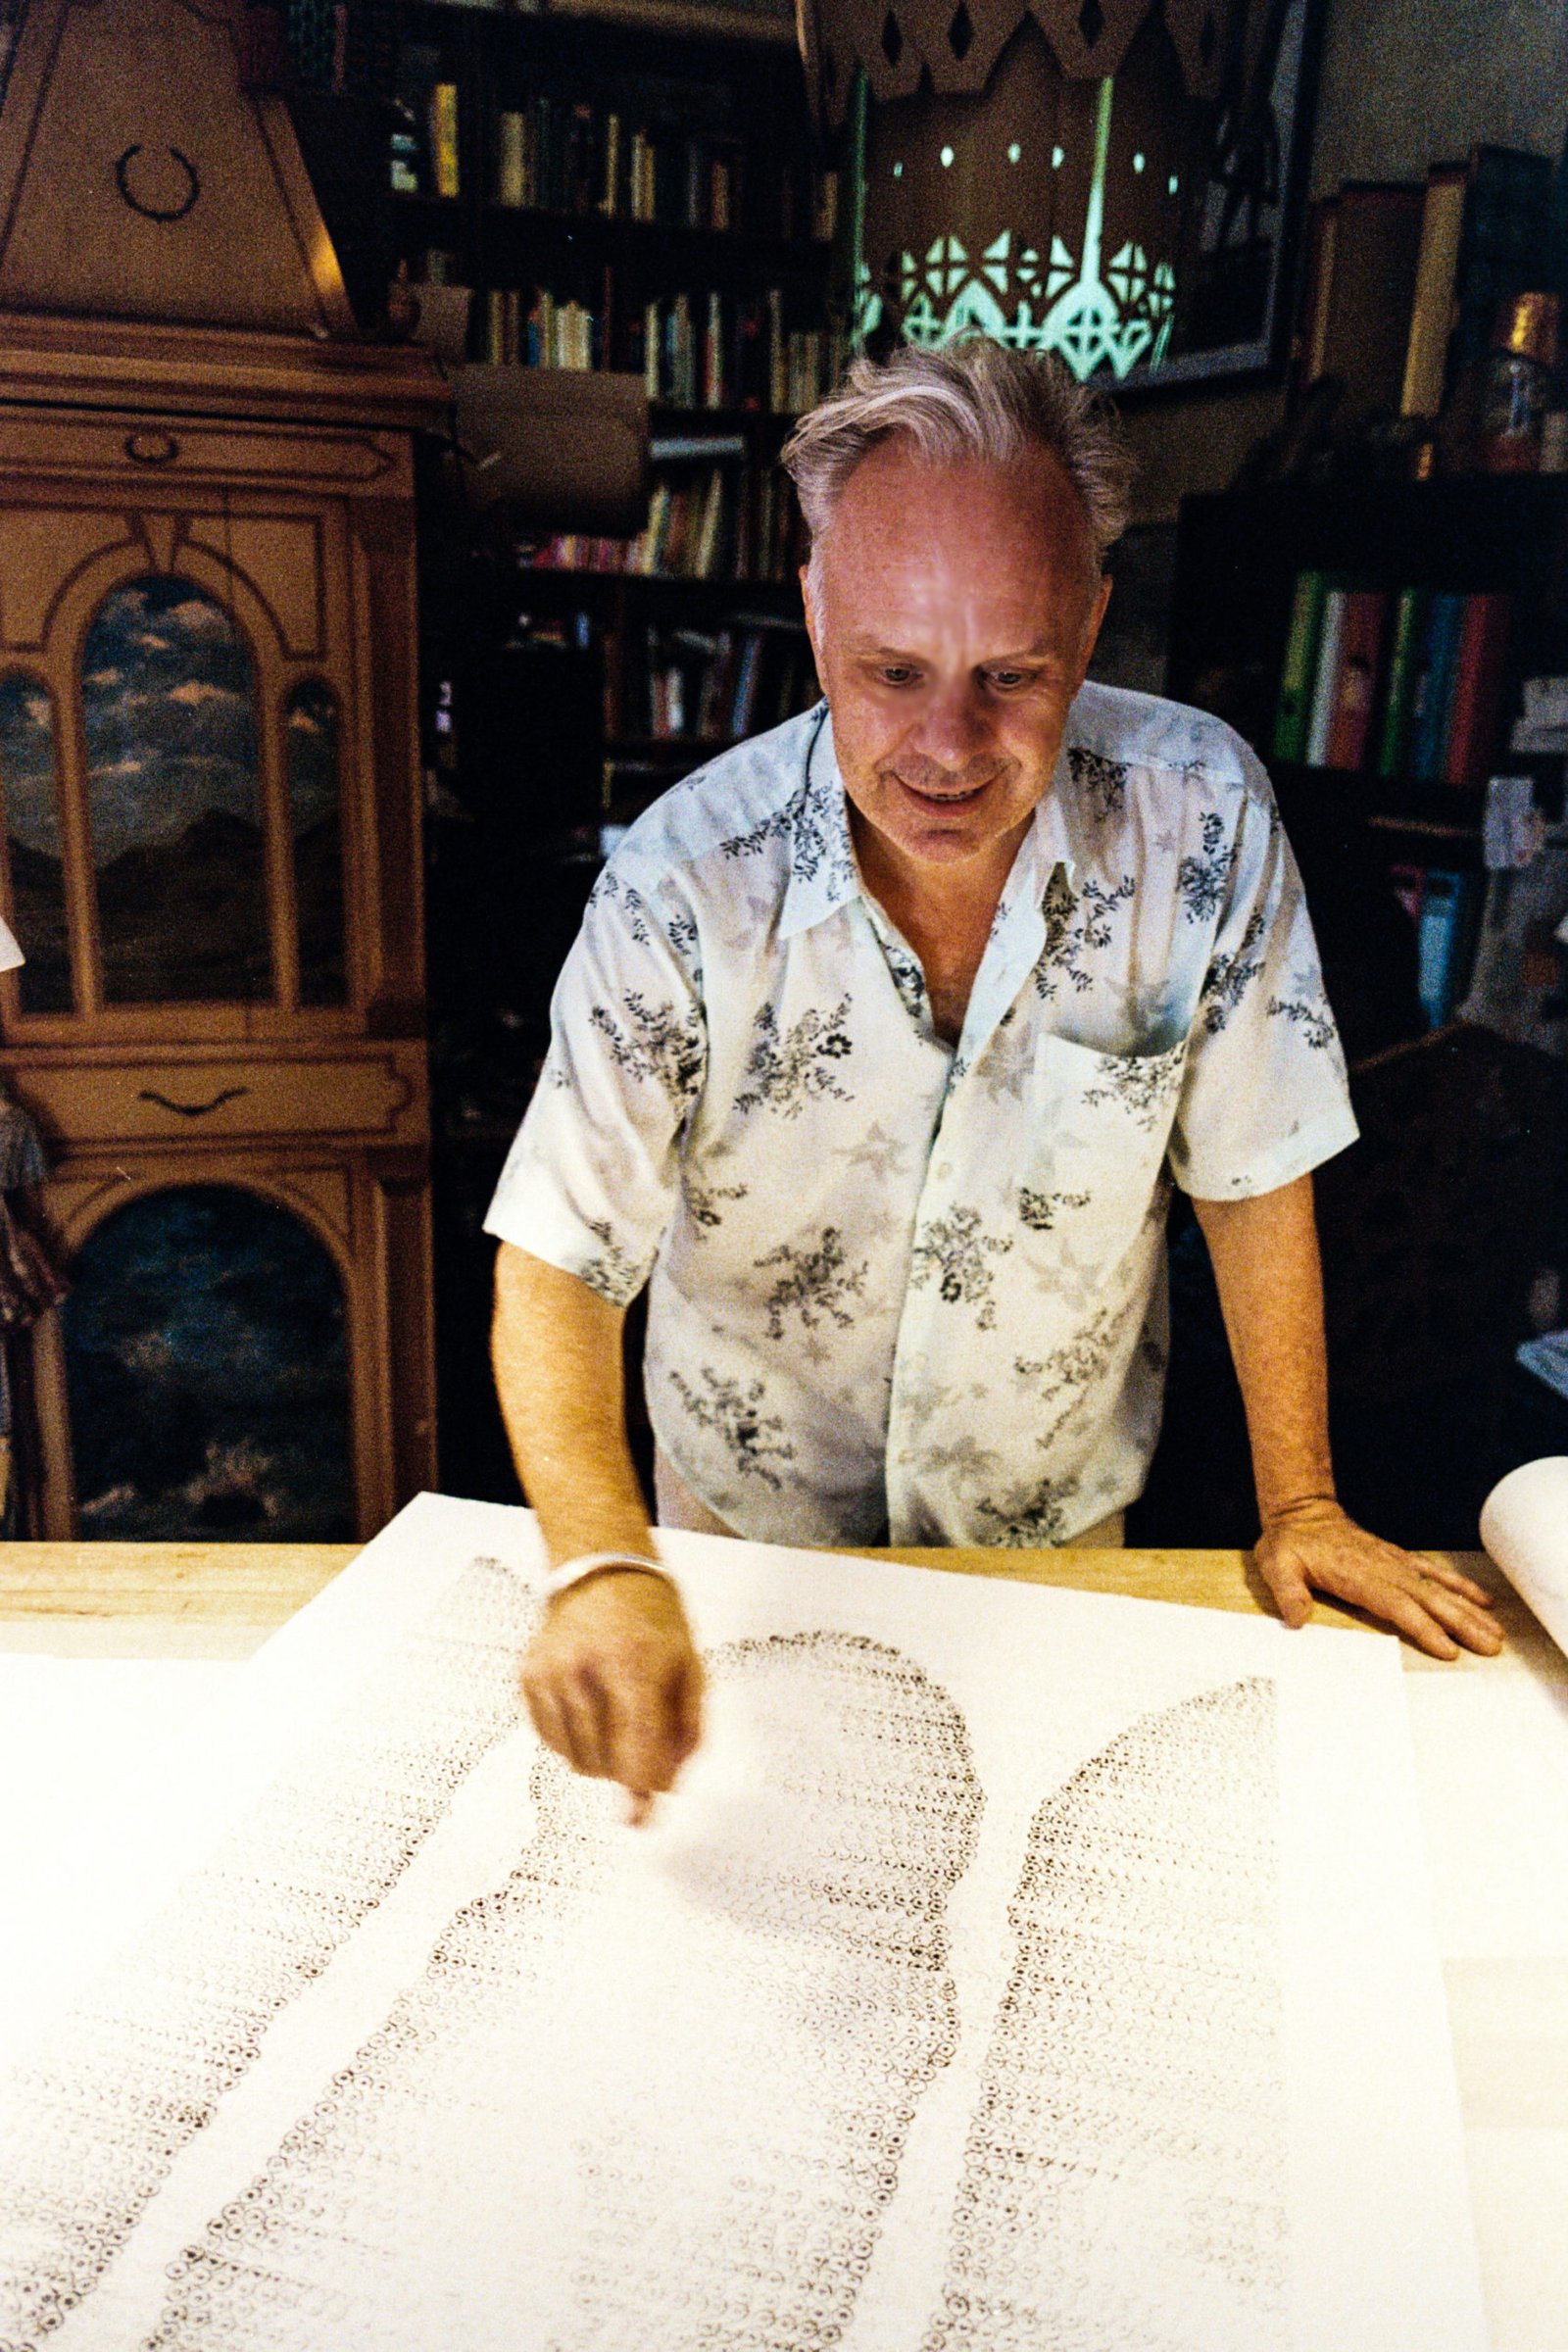
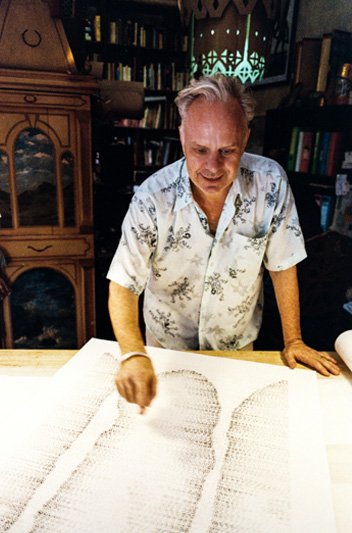
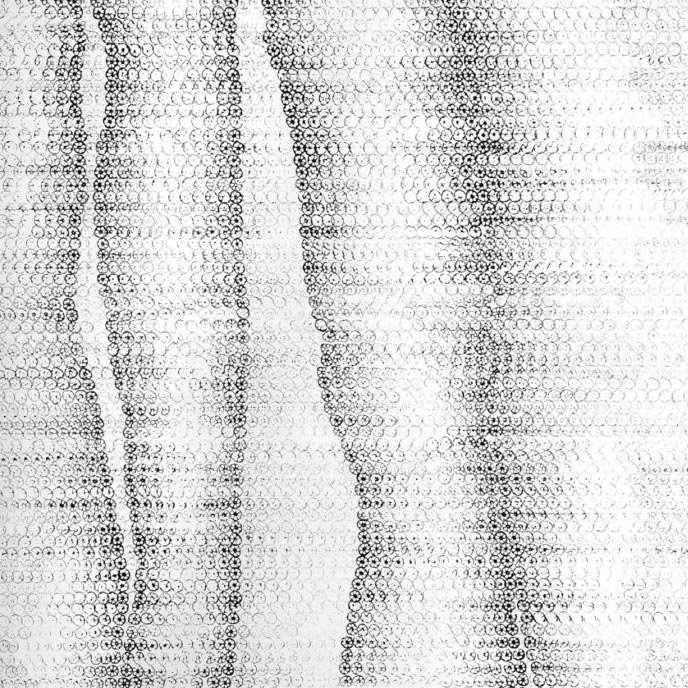
There’s joy in repetition. In my inked lotus works, each mark becomes a form of meditation — rhythm and stillness intertwined.

It’s the repetition of trees planted in rows, the repetition of boxes of food lined neatly on a shelf, the repetition of patterned wallpaper. All of these ordered forms inspire me.

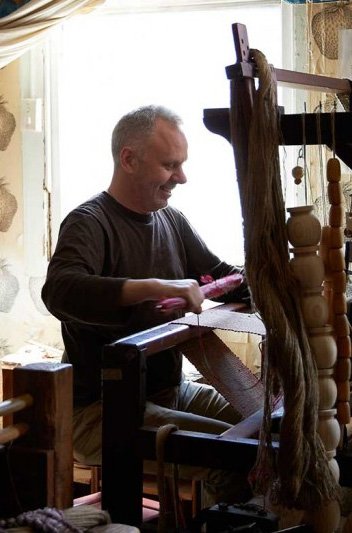
Before I became a painter, I was a weaver — counting threads, guiding the shuttle’s rhythm across the loom. That instinct remains with me today as I paint. When I would weave a braid, it was the repetition that created its beauty.

The main difference between weaving a braid and creating my lotus artworks is freedom. The braid demands strict consistency — a repeated movement every few seconds or minutes. In my painting, I have the freedom of repetition. A free-hand consistency I could never achieve while weaving. Every impression, every counted gesture, is both structured and free. It is through this repetition that existence takes form.

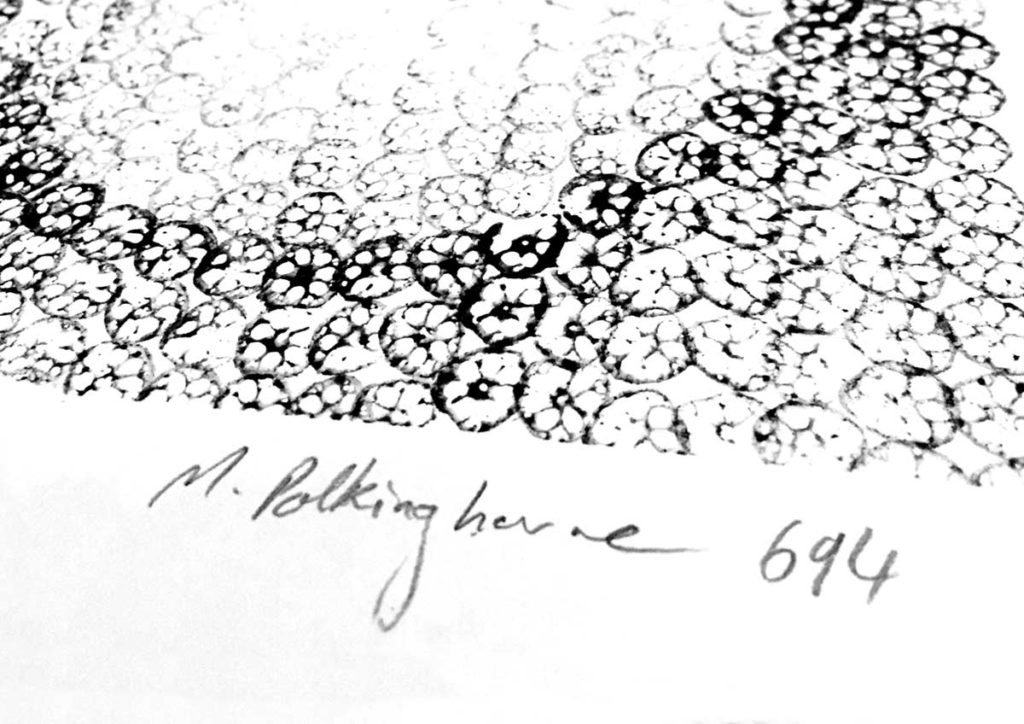
Each lotus impression I stamp is a thread in a quiet tapestry of time, culture, and devotion. I title each work by the exact number of impressions it holds. Like a woven braid with thousands of threads, my artworks may have 10,000, 15,000, sometimes more — the count recorded in my signature like an intricate brocade.

What begins simply as black inked marks on paper becomes intricate through repartition of freedom and intention. My artworks are, in essence, my latest form of weaving — woven acts of patience.

Posted on

How to make a turks head

How to make a turks head knot

I have made thousands of these knots over the years. I have made them into buttons, have tied them around the ends of curtain poles and have used them to make the heed of a tassel. Here are my directions on how to make a Turks head knot.

Give it a try, and let me know how you go.

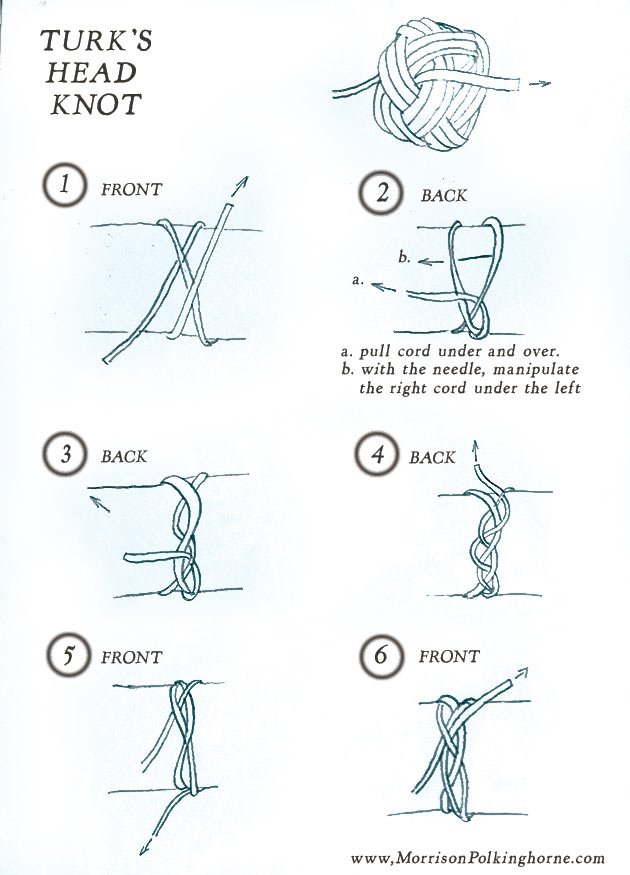
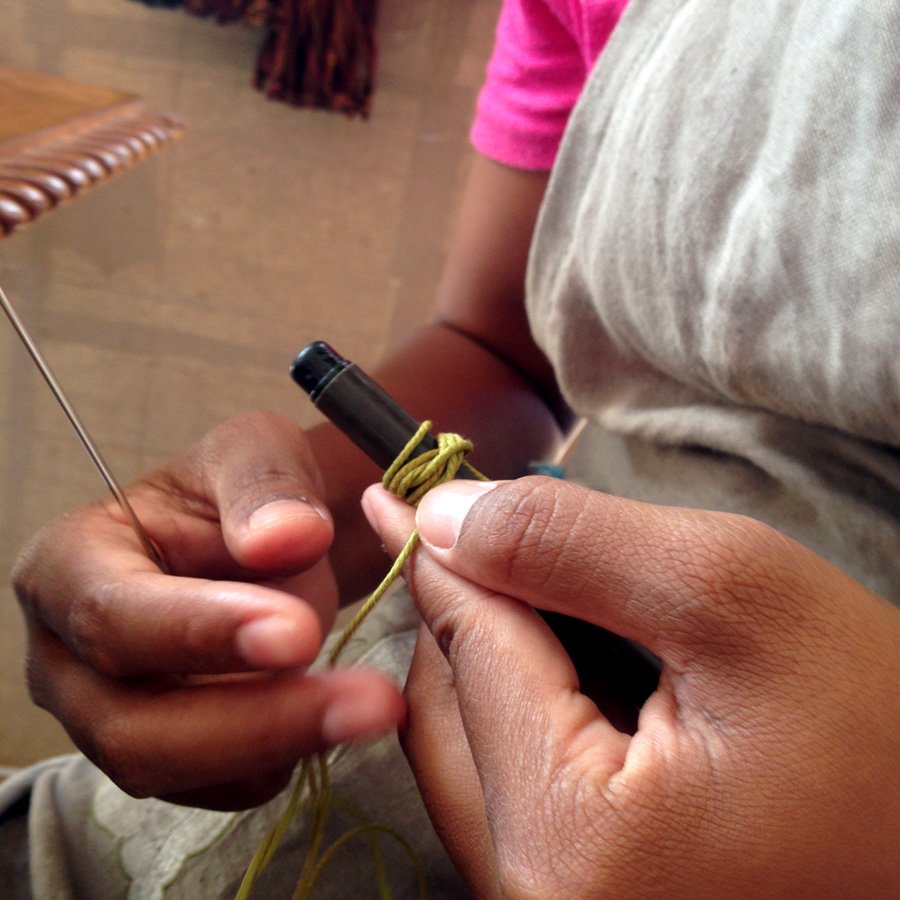
To make a turk’s head, you need a cylinder or dowel base to form it on, such as a pen — about 1-1.5m / 3 – 4ft of cord and a needle with a huge eye to thread thick cord.
When you make a turks head you will create layers, the first being the basis of it all,  as well as being the most important layer and its most difficult. If this first layer is wrong, then your turk’s head knot will not work out. A turk’s head is made up of two to many layers that all follow the first layer.

Follow these steps, and you cannot go wrong.

TIPS: After you have mastered the first layer, follow with the same cord to create the second layer, then the third, etc.

When completed, if your turk’s head is not tight, go back to the beginning and just pull every individual section and layer to make it tight.

Posted on

Making a pigment from a rock

Making a pigment from a rock

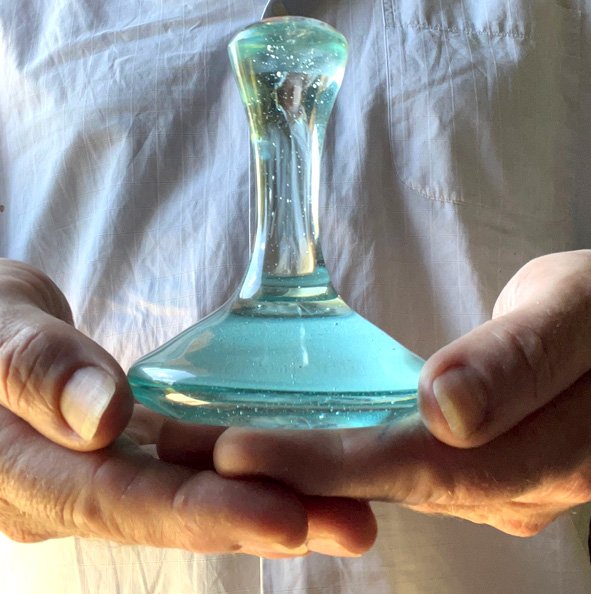
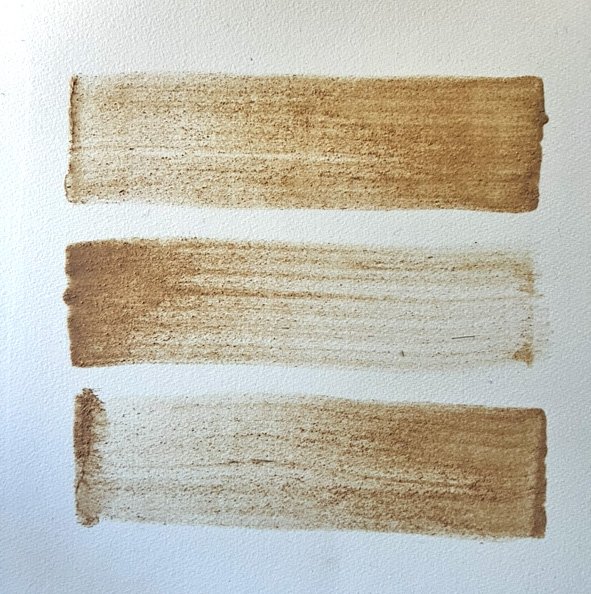
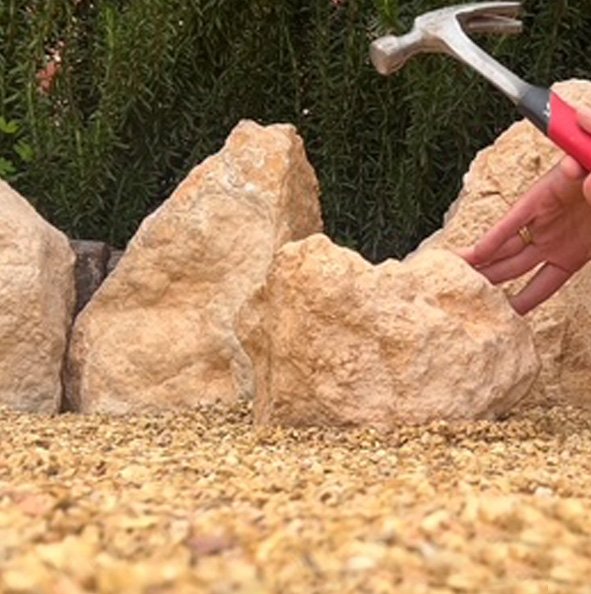
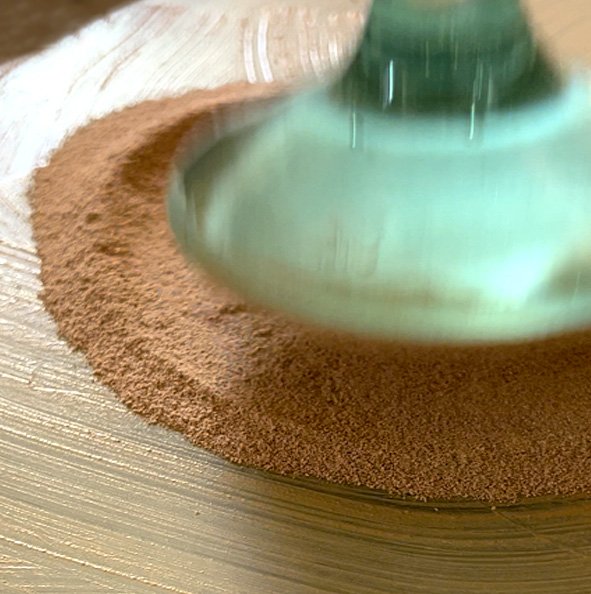
Crushing, grinding, sieving and mulling is how I commence my artwork.  For my new series paper is painted with a brush stroke made from a gypsum stone. I crush rock into a pebble and then with a mortar and pestle grind it into a powder, and later a glass muller.

The next step is to sieve this powder, however it is still too large to turn into a paint or a pigment. Pouring a small amount of it onto a sheet of glass, and with a muller I grind it with a small amount of rain water. After minutes of mulling the feel of the grind changes from gritty to smooth. It now a pigment that I store it in a jar.  I repeat the mulling process until all the fine powder has become a pigment. For this series it took two days to complete this process. 

As with any pigment it needs other ingredients to become a paint.  I add gum arabic and egg yolk for a binder, honey for viscosity, and finally rain water to make it ready to brush onto paper.

This is the first step to create my new style of art, Point-illism. 

Posted on

tassels and embellishments
for Vaucluse house

Tassels and embellishments for Vacluse House

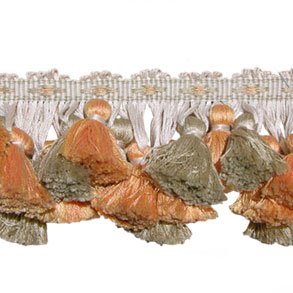
One of Australia’s most prestigious colonial properties, Vaucluse house in Sydney, has  a revamp! We at Passementeries were asked to help in the reconstruction, specifically crafting sixty tassels and three hundred embellishments for the drawing room , all based on original 19th century designs. We reproduced the tassels from original prototypes at Sydney Living Museums archives of their Caroline Simpson Library and Research Collection.  read more

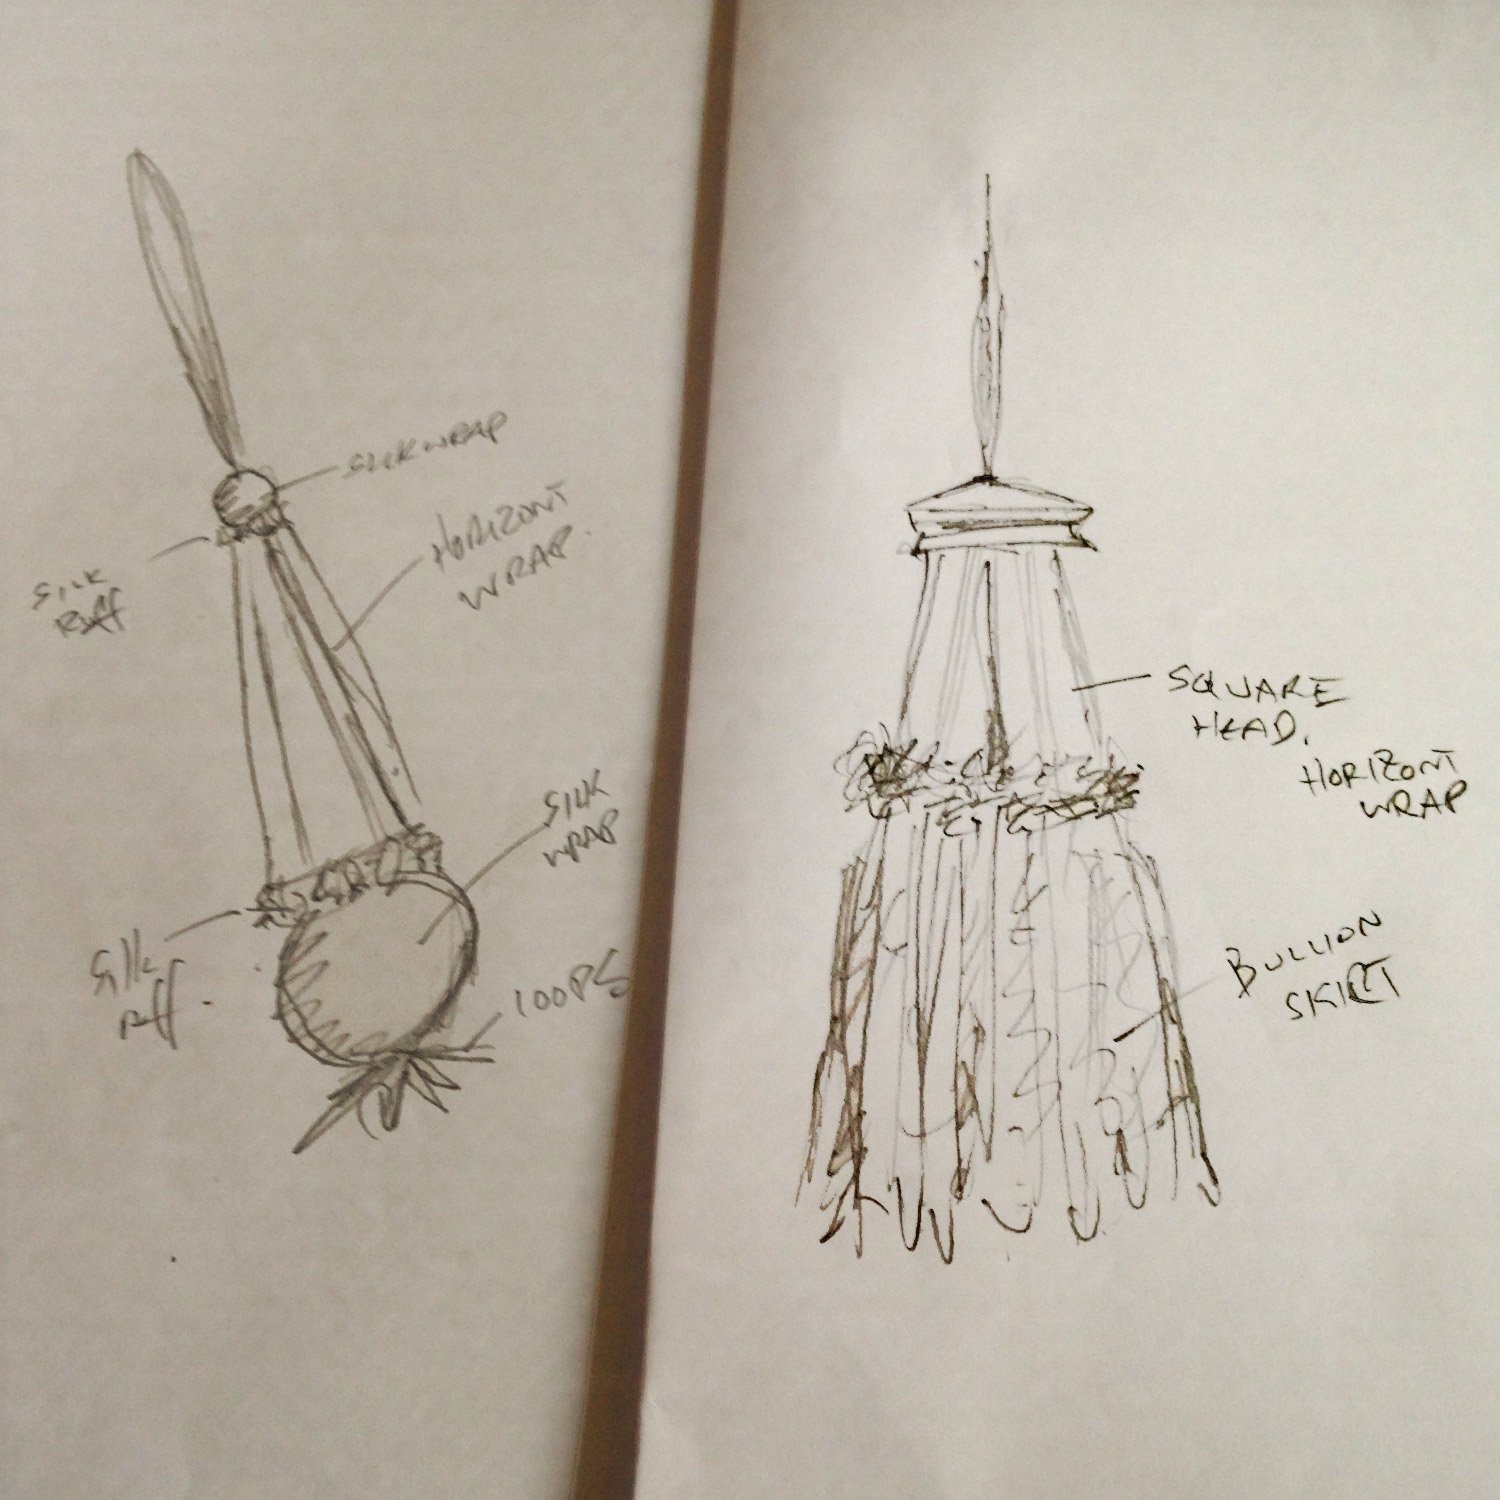
Photos of the original tassel were sent through, and we made some quick sketches to get an understanding of the design construction and for reproduction of the wooden moulds. To put it in modern usage, it resembled a UFO sitting atop a pyramid mould, classically, trimmed with an S and Z twist cords brimming with a silk velvet ruff, finally hanging below a sumptuous silk twisted tassel skirting.

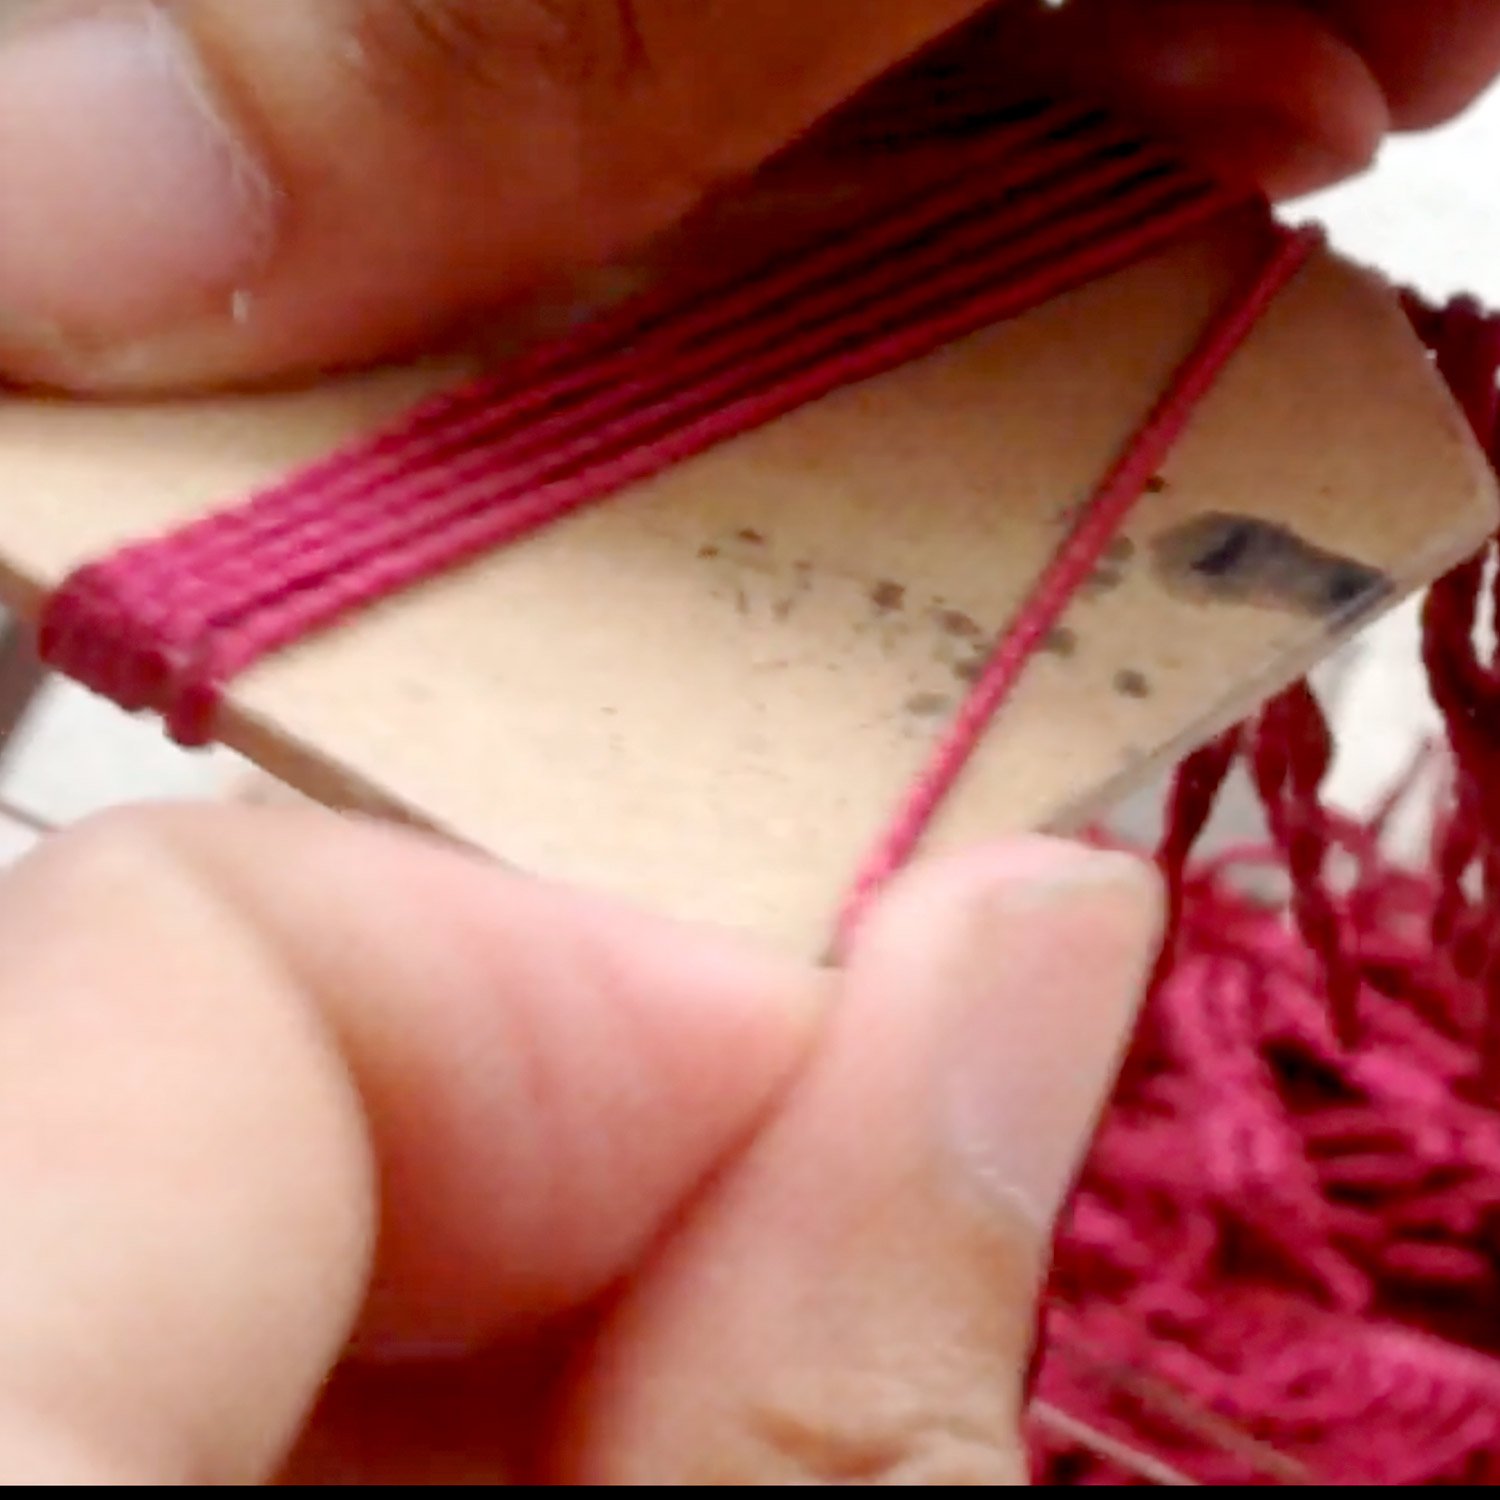
Similar historic embellishments I have been making for decades, but some alterations were required for this commission. This embellishment called for the addition of velvet instead of loops between the beads, and this velvet ruff itself was the most time consuming part of the project. A fine narrow fringe was hand woven, wound into a donut shape and then hand cut around precisely to size.

We commissioned a local wood turner using rare hardwoods. (Anecdotally, he had had never heard of a tassel before!)  We were delighted he  reproduced them so well. Mr Pon produced the shapes and moulds we required, all hand chiseled and turned. His eye to consistency is remarkable. Normally these would be made on an automatic lathe, as hand turning would produce items with an inconsistent shape and size. Mr Pon lathes each by hand, and his results are perfect.

The colours of our threads used were  matched to a piece of century year old fabric, from a historical building in Tasmania. The silk threads we used were dyed for us by a French silk scarf company working out of Banteay Chhmar in Cambodia’s northwest. We tried a few color matches, then three different shades of red were used to enhance the quality of the blend and shade. The covered beads using a lighter shade, and the cords and the velvets using a combination of the other two colours.

Bespoke at its best! All the parts were crafted individually by skilled artisans trained by us to do this intricate work. This commission would have taken one person three years to complete, if she/he had been working on their own.


Posted on

new tools for Vaucluse House

new tools for Vaucluse House

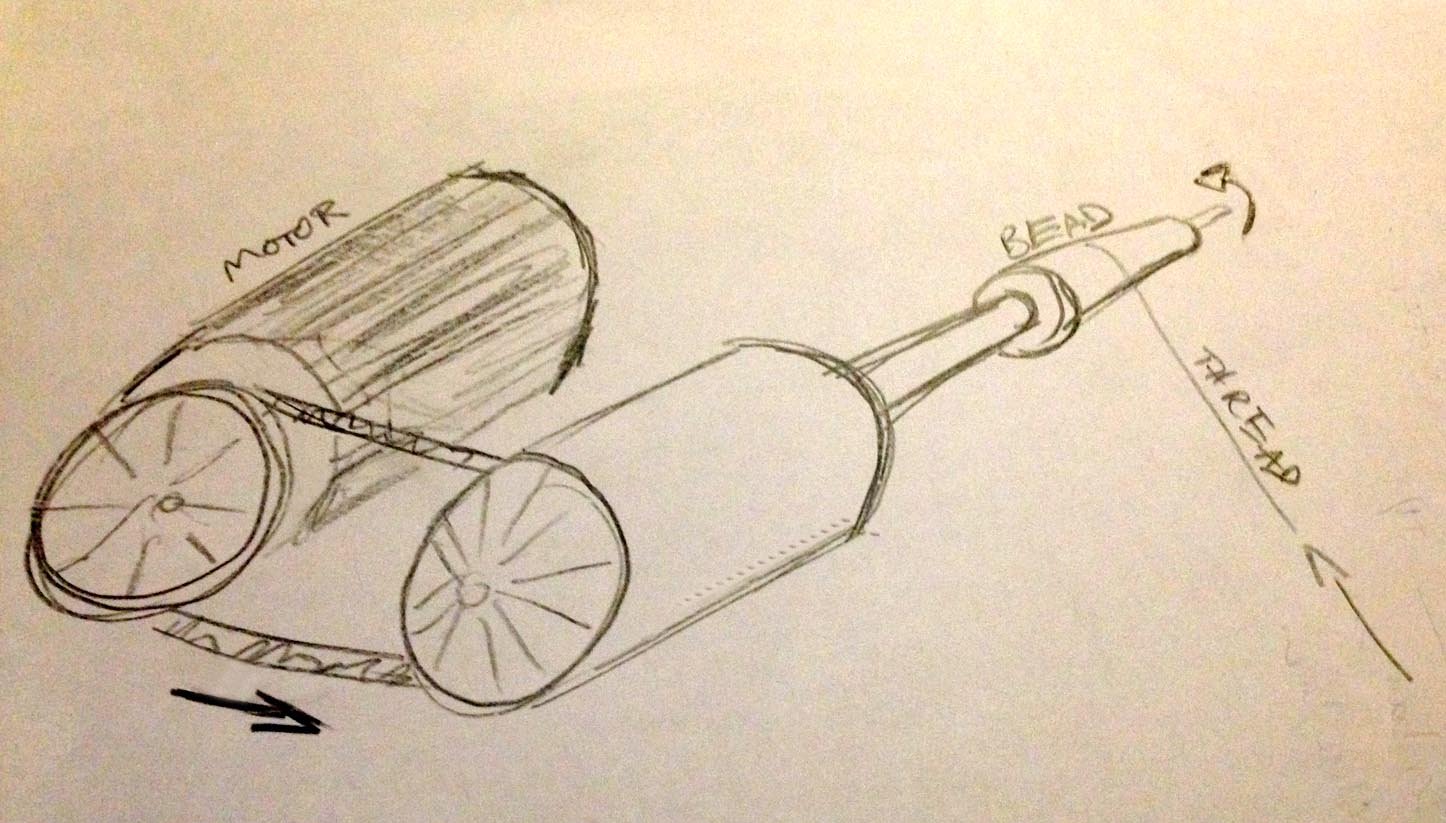
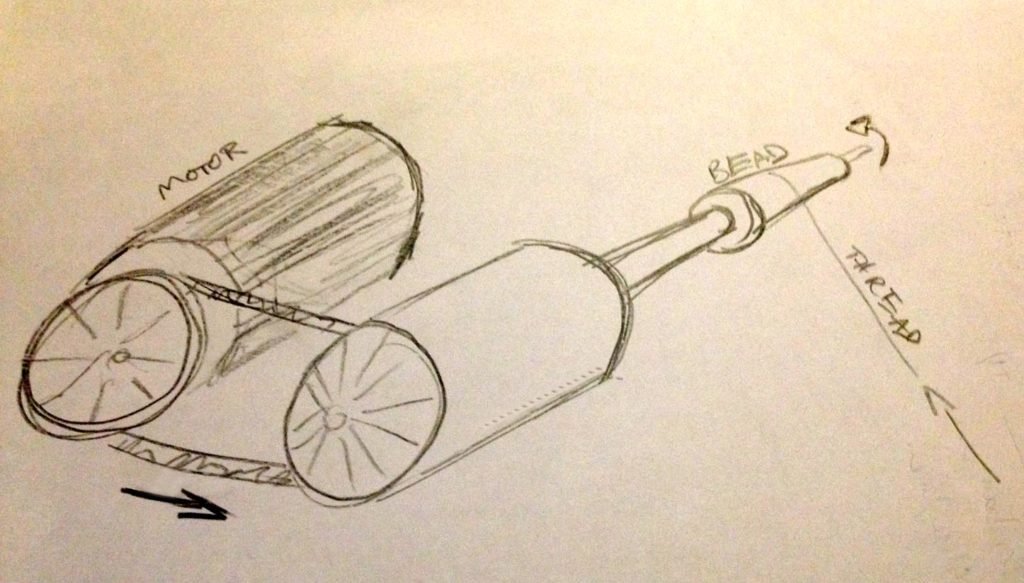
When I got the go ahead to work on the new Vaucluse house renovations, the first thing we needed to do was to make some new tools.

Part of making tassels incorporates wrapping beads which can either be wrapped horizontally or vertically. Wrapping vertically is done by hand, but horizontally it is virtually impossible to hand wrap the threads straight. The use of a spinning machine, allows a single thread to be wrapped horizontally — and straight — on to the bead. So, first I needed to to source a local machinist who could help me make the tools.

Posted on

Lotus weaving in Myanmar

Lotus weaving in Myanmar

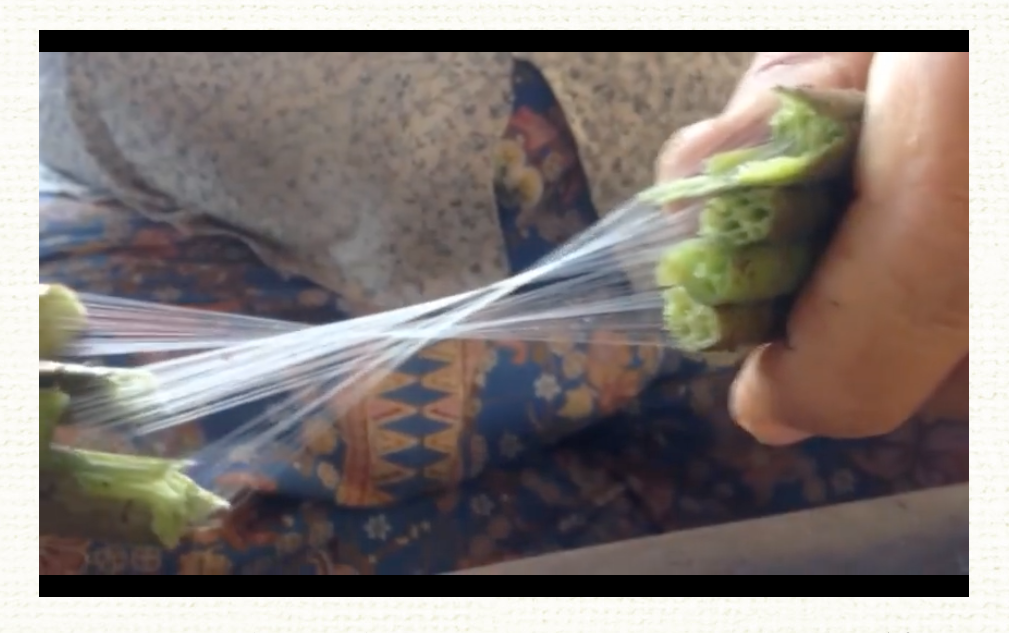
Lotus weaving on Inle lake in Myanmar. Fabrics derived from lotus fibre are strong, soft and to put it succinctly, it takes a long long time to make one simple scarf.

The fabric is a simple weave, either a plane or a twill weave. But it is the thread that is the time consuming aspect of this fabric. The actual thread is made from the slimy stalk of the lotus leaf. It is is broken and then pulled, the fiber is then hand twisted into a thread. One simple scarf will take about 20 days to produce enough thread and will set you back about US$100.


Lotus weaving is just one of many delightfully unexpected experiences to encounter on Inle lake. in Myanmar/s Shan State..

Join us on a tour in South East Asia. 

Posted on

Gold leaf making in Myanmar

Gold leaf making in Myanmar

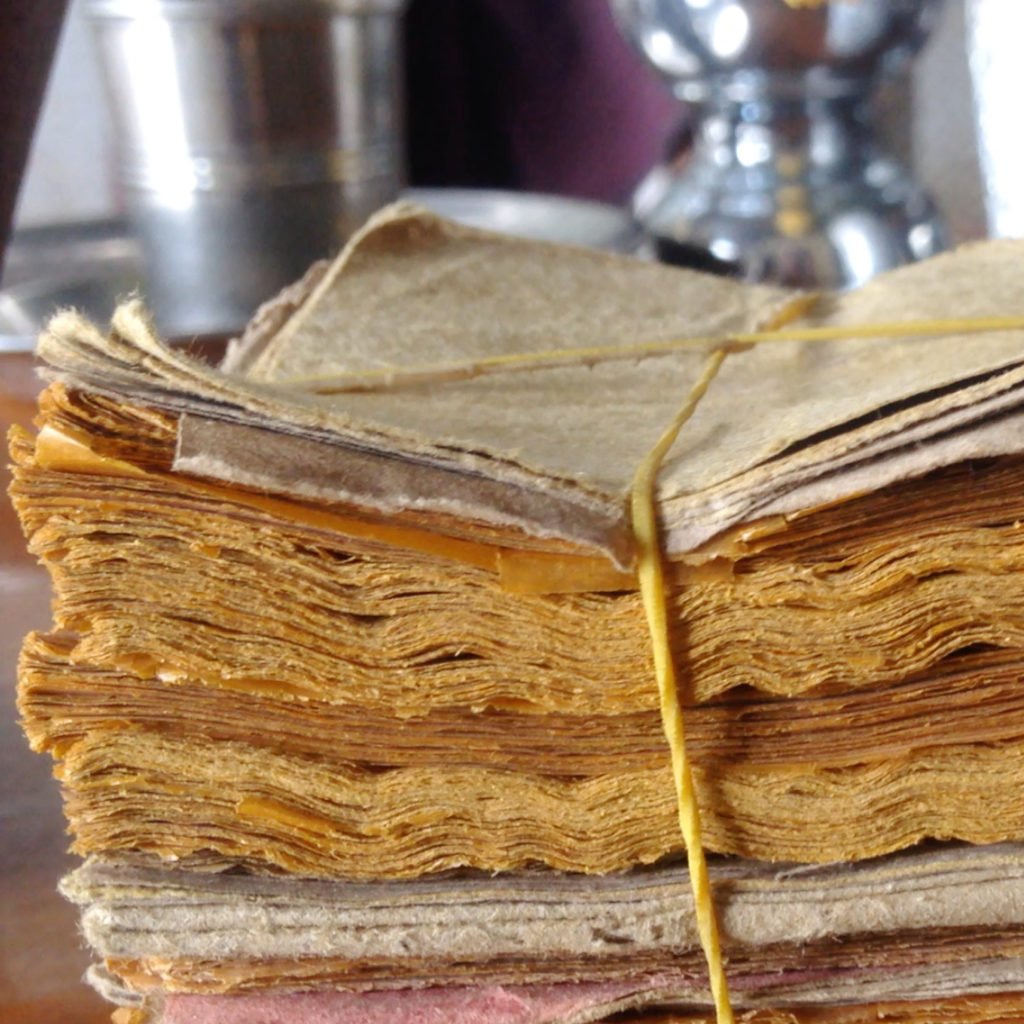
Head to Mandalay for gold leaf making. Here, you will find numerous noisy, sweaty and glistening locations. Myanmar gold leaf is handmade in time-honored fashion from 24k gold. In one day a worker at this factory will painstakingly turn 32 grams of gold into about 750 layers of finished sheets of gold leaf.

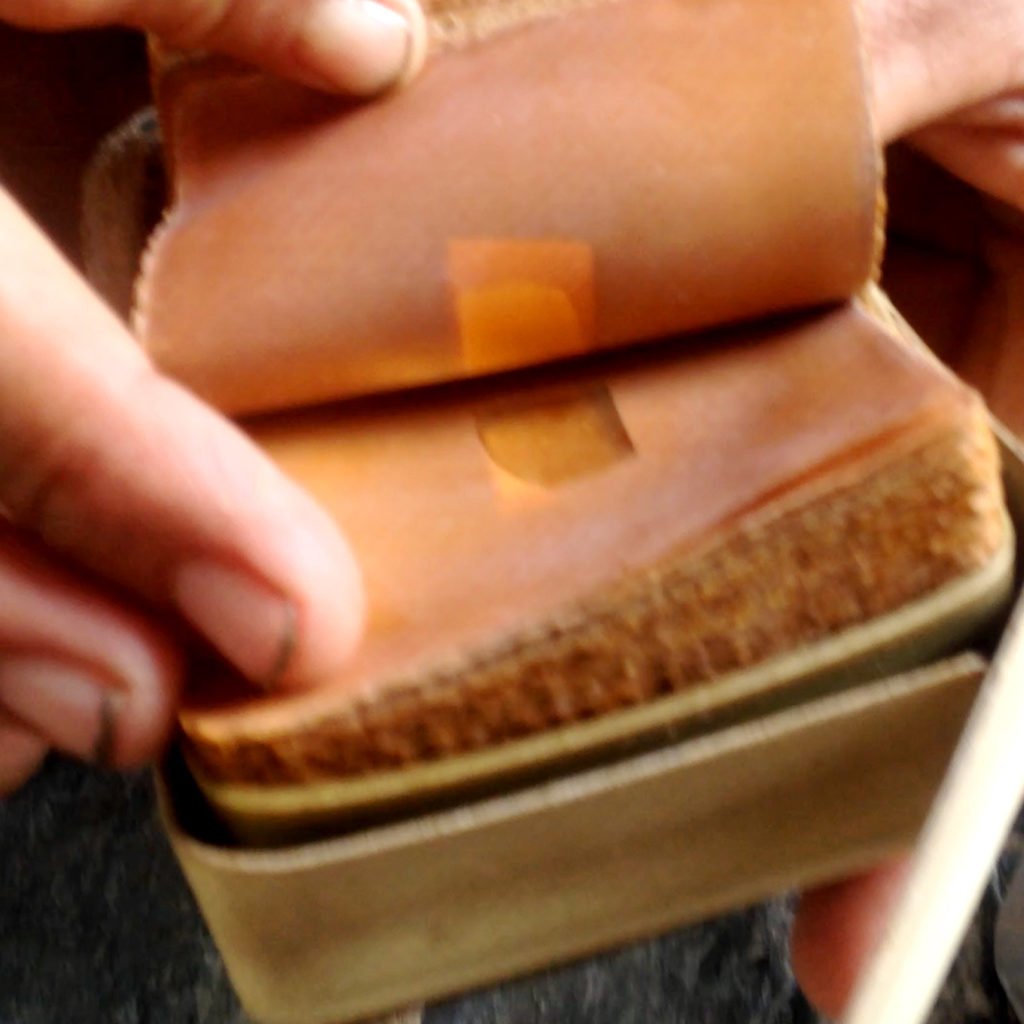
Between the layers of gold is handmade bamboo paper. A special local bamboo with a solid core is shredded and soaked for three years to make a paper which is very strong and incredibly smooth. A speck of gold is placed between each sheet of the bamboo paper, and then layered with many others. All of this is then wrapped in deer hide and then pounded. Normal cow hide is not strong enough to withstand the continuous beating, nor as flexible.

The gold leaf bamboo stack is initially pounded for about 30 minutes twice and then it is beaten again for another 6 hours.

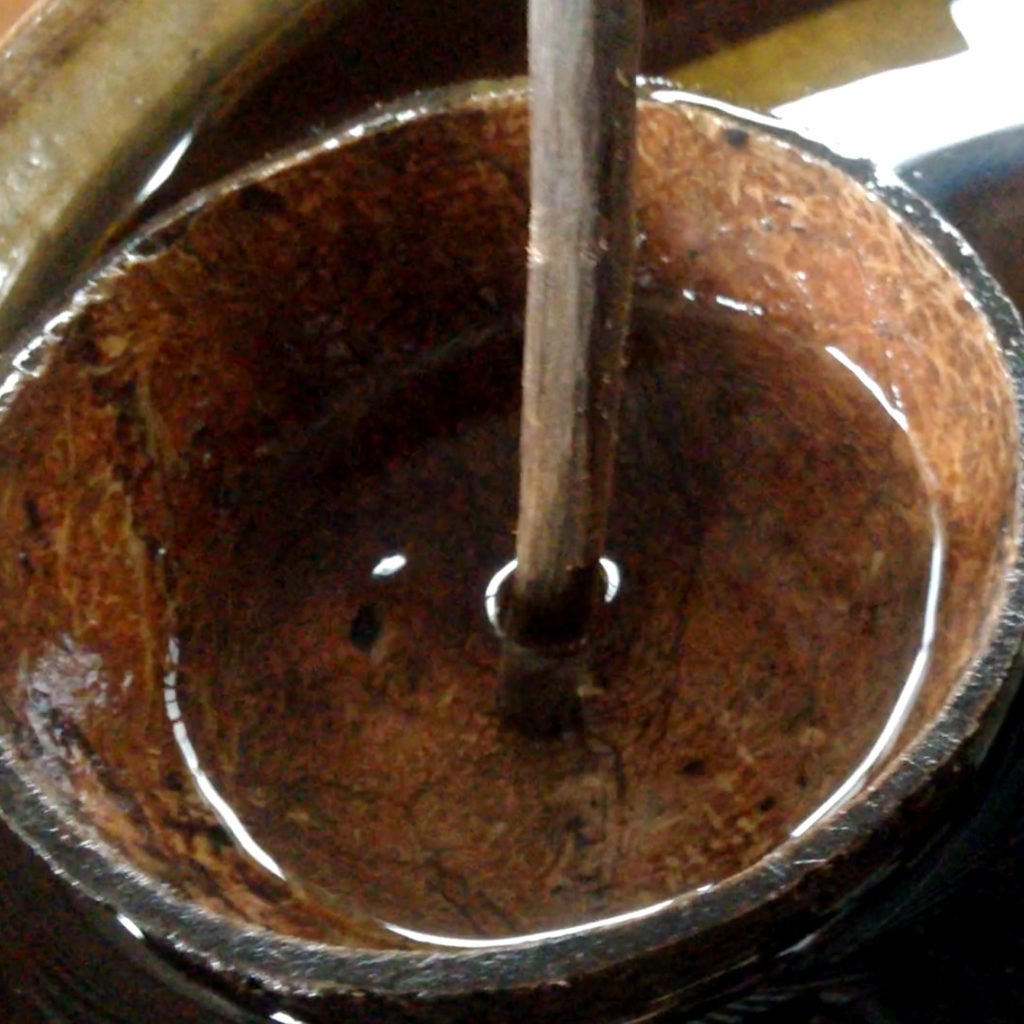
A coconut water clock is used for the timing, with a small hole in the coconut shell that slowly allows water to fill the shell. When it has been filled 80 times, the pounding process is completed.


In Myanmar there are more than 20 workshops and more than 100,000 workers producing gold leaf for the country’s temples and pagodas. Sadly, the nation’s most symbolic symbol, Shwedagon Pagoda, is set to be re-gilded with machine-made leaf.

Posted on

how we make 350 identical Pom Pon’s

how we make 350 identical Pom Pon's

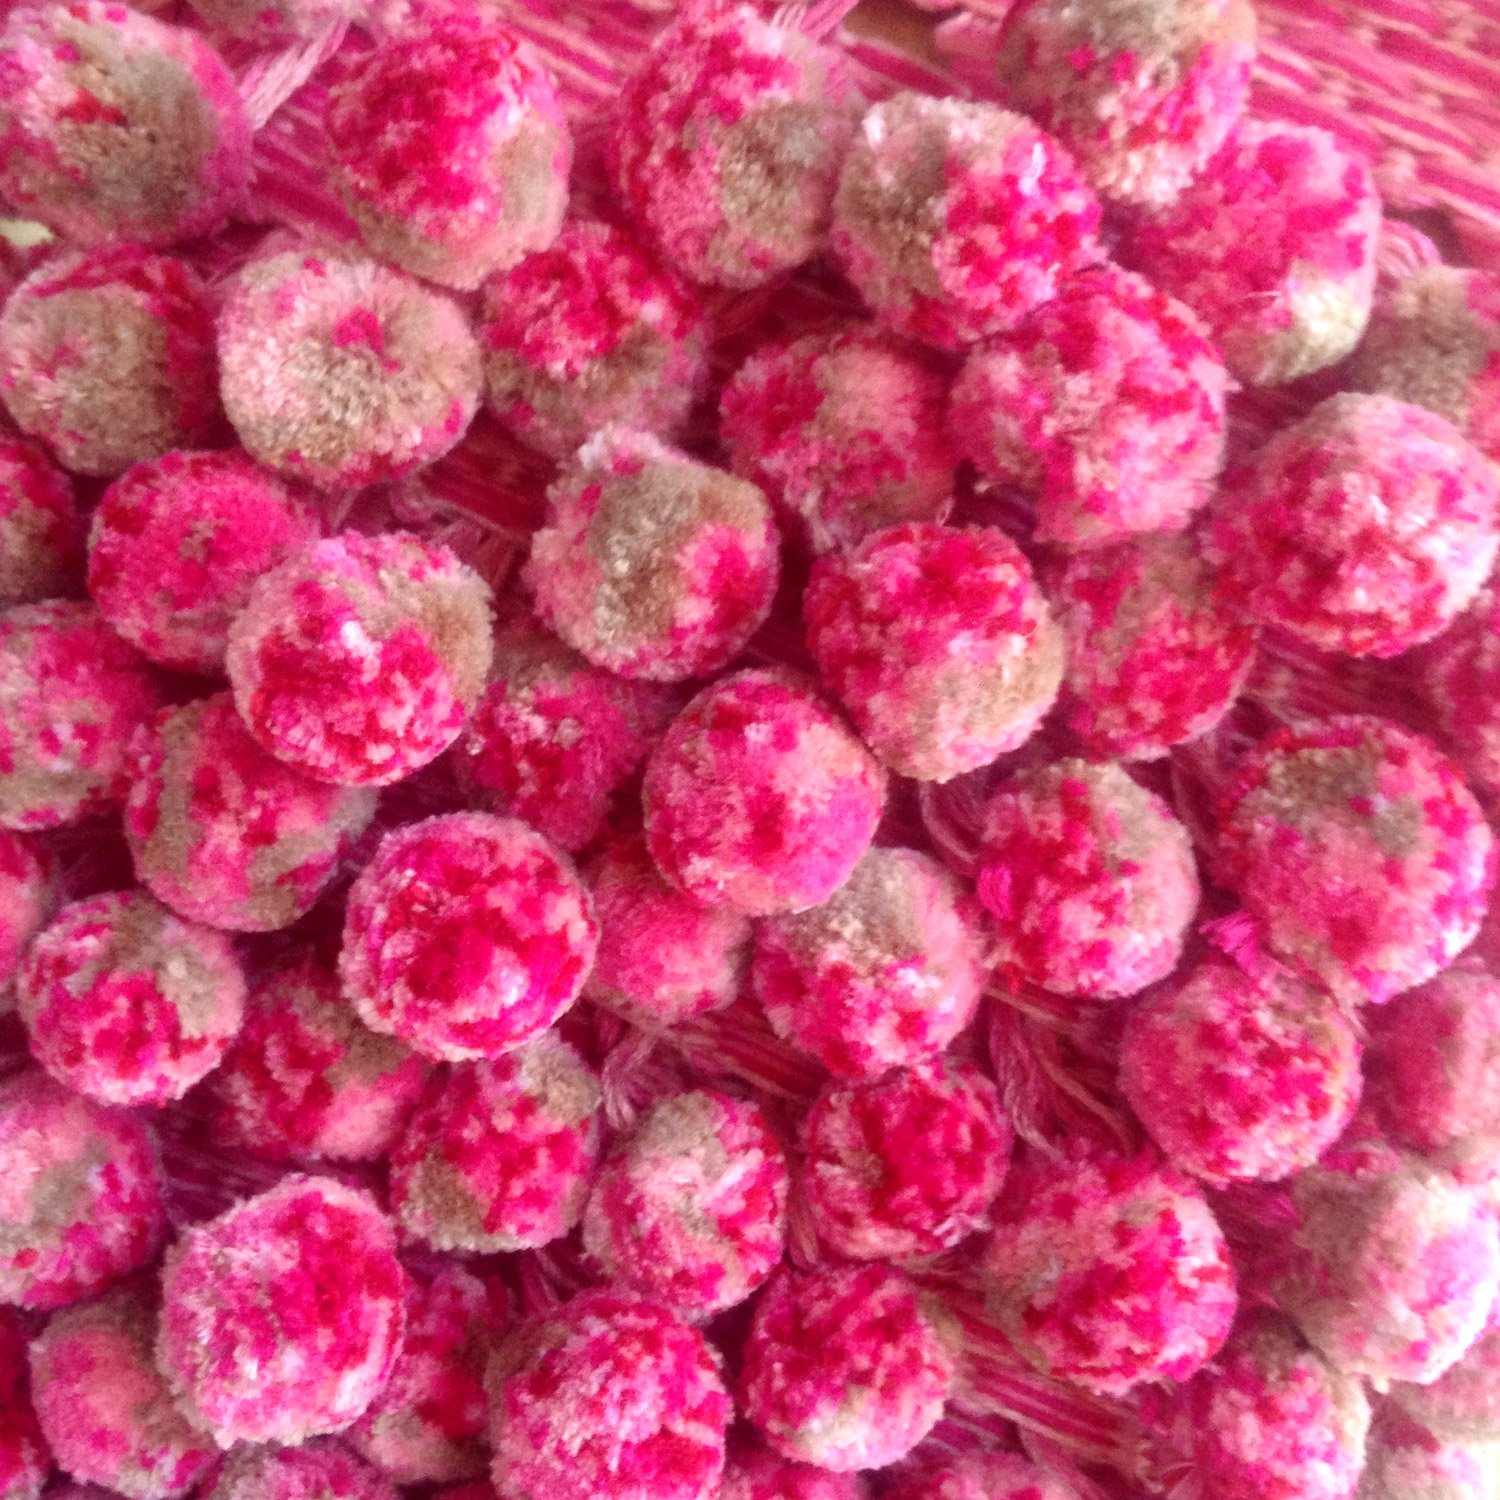
It’s very easy to make a pom pon, or so I thought when I was taught by my mother at an early age. She began by cutting two donut shaped pieces of cardboard, then had me wrap them with threads. Wool was the easiest textile to use, as as it effortlessly made the pom pons more voluptuous.

The difficulty arises when one makes 350 pom pons — each one identical.  With this donut cardboard technique it is virtually impossible to make a second pom pon exactly the same as the first. One needs to wrap the exact same number of threads around the donut while maintaining the same taught consistency,  and you pray it ends up the same size as the first exemplar made. If the threads or variegated, it’s even harder to achieve color consistency. 

Forget this technique when making 350 pom pons!

Nowadays when I ask my staff to make pom pons for a fringe, or for the ends of embellishments or tassels, we start by pulling out hundreds of threads in a variety of colours, bunching  them into an inconsistent rainbow. For 350 pom pons one requires about 3.5 meters bunched variegated threads.

The trick to making the pom pons is to tie this bunch of threads very tightly, and at a consistence distance apart. Once tied and cut, trim them into the perfect pom pon shaped ball, consistent balls in size and shape. Sharp scissors are essential, but even more so, this tour de main is a hard-learned skill.

After a fringe is woven on the loom, we attach a pom pon to each individual loop. Alternatively, use pom pons at the base of a beaded tassel.

Pompon vs.pompon
The term for a decorative tuft of material such as wool or ribbon was originally pompon, which came to English from French in the 19th century, but the misheard form pompom has gradually gained ground. Today, the two are used about equally in English. Two-word spellings such as pom pom and pom pon have never been standard, though they appear in informal contexts, and hyphenated forms such as pom-pom are likewise nonstandard. There’s no reason for the word to have a hyphen.

grammarist.com