


Posted on

How to make Paper Snowflakes

How to make Paper Snowflakes

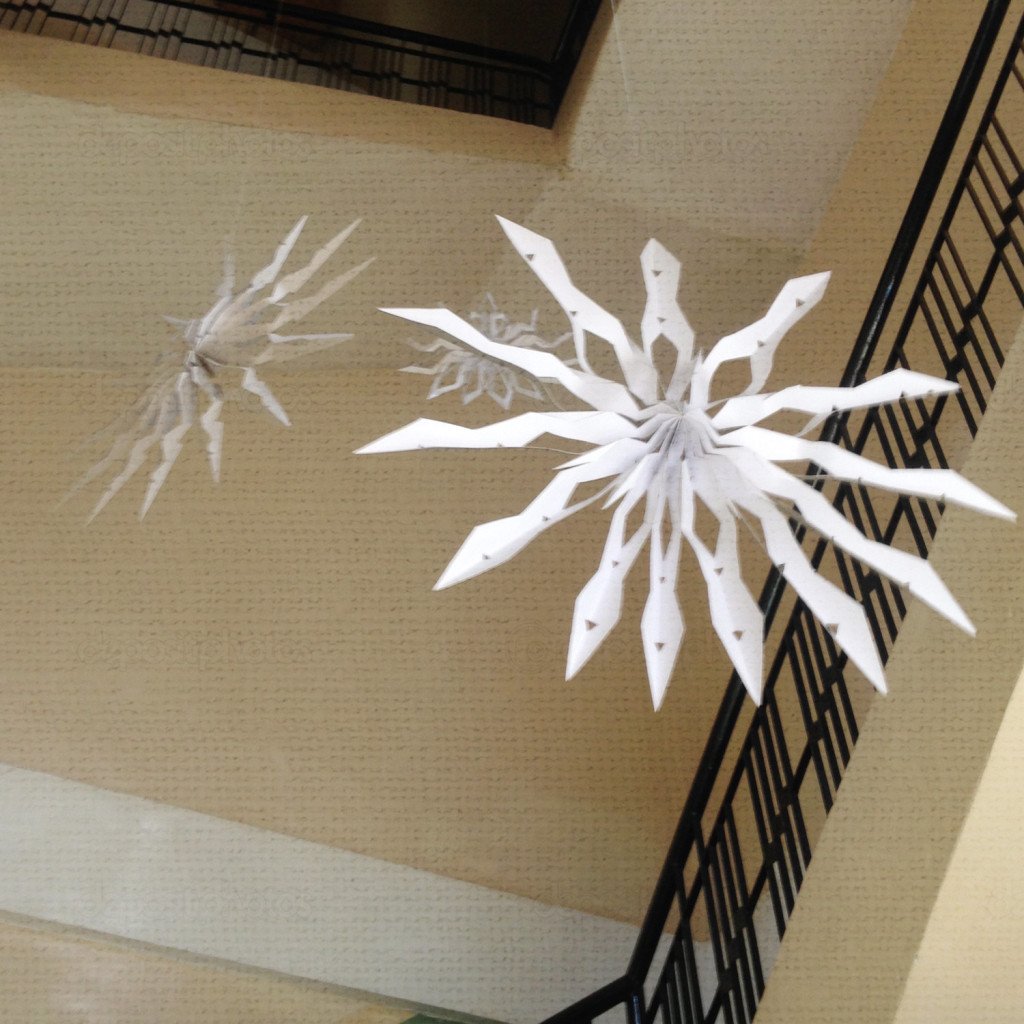
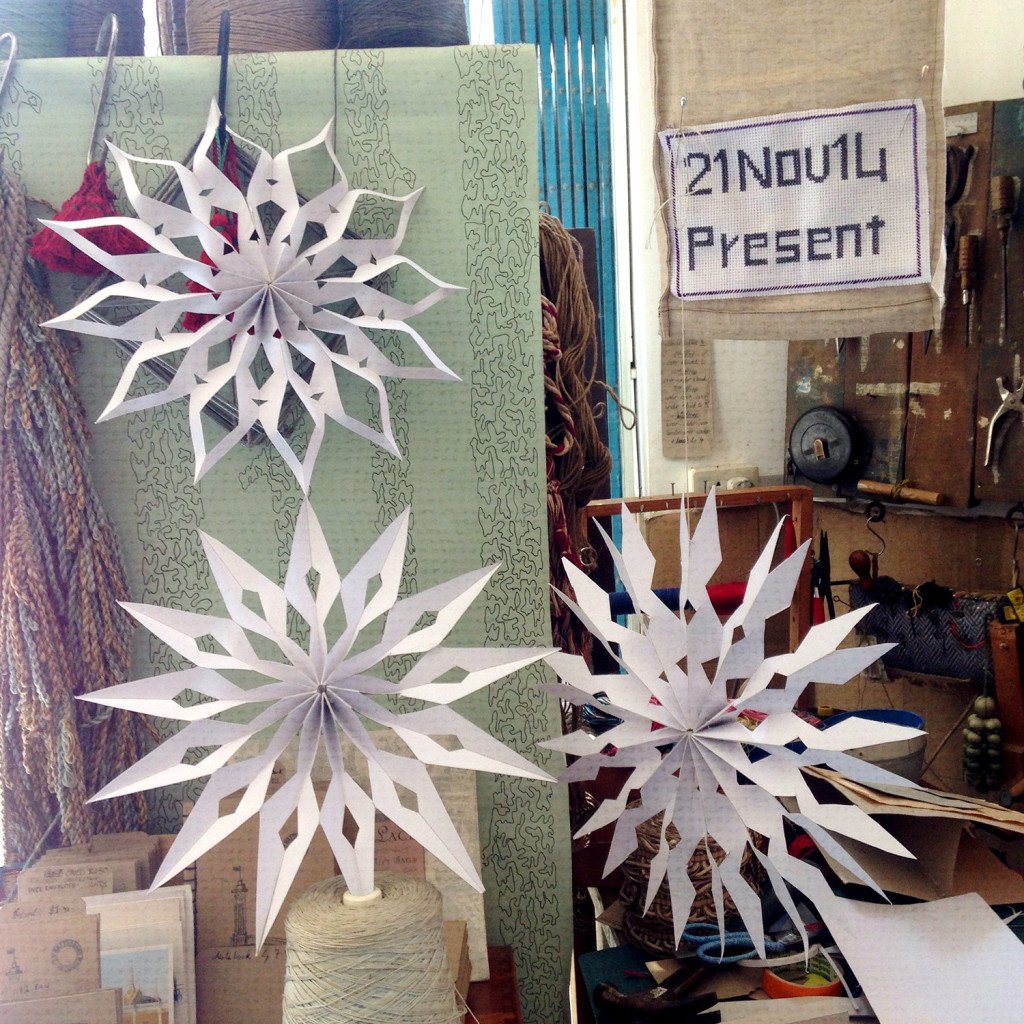
I decided this year to make Paper Snowflakes for our Christmas decorations. Simple and fun, but watch out for that dangerous blade.

Items required:
 – Card
 – Sharp Knife
 – Metal Ruler
 – Cutting Board
 – Double Sided Tape
 – Scissors
 – Needle and Thread

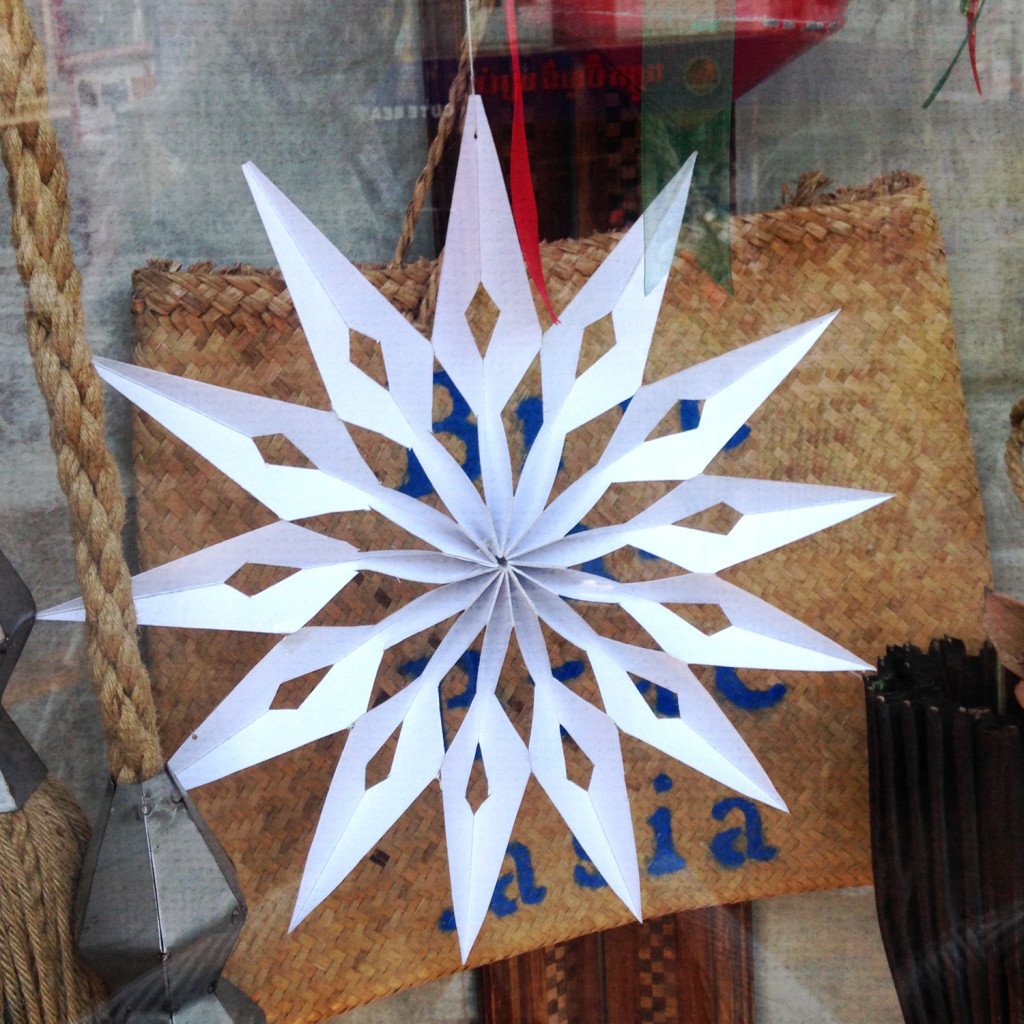
Cut a rectangle piece of card, two thirds longer than the width. The width should be half the total finished snowflake diameter.

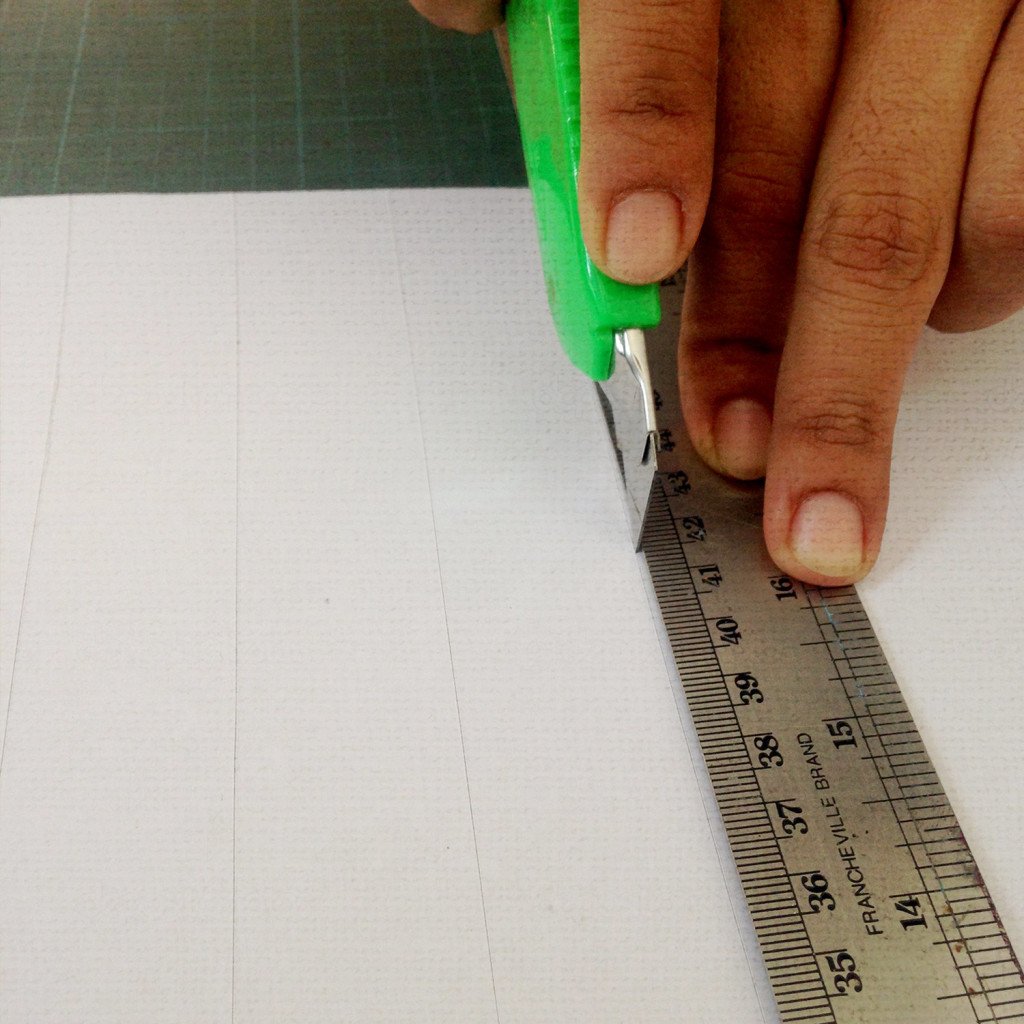
Score the card along the width with equally spaced score lines. Here, we make the score lines 4-5cm apart. DO NOT cut through the paper. These are only minimal score lines that only cut slightly into the card.

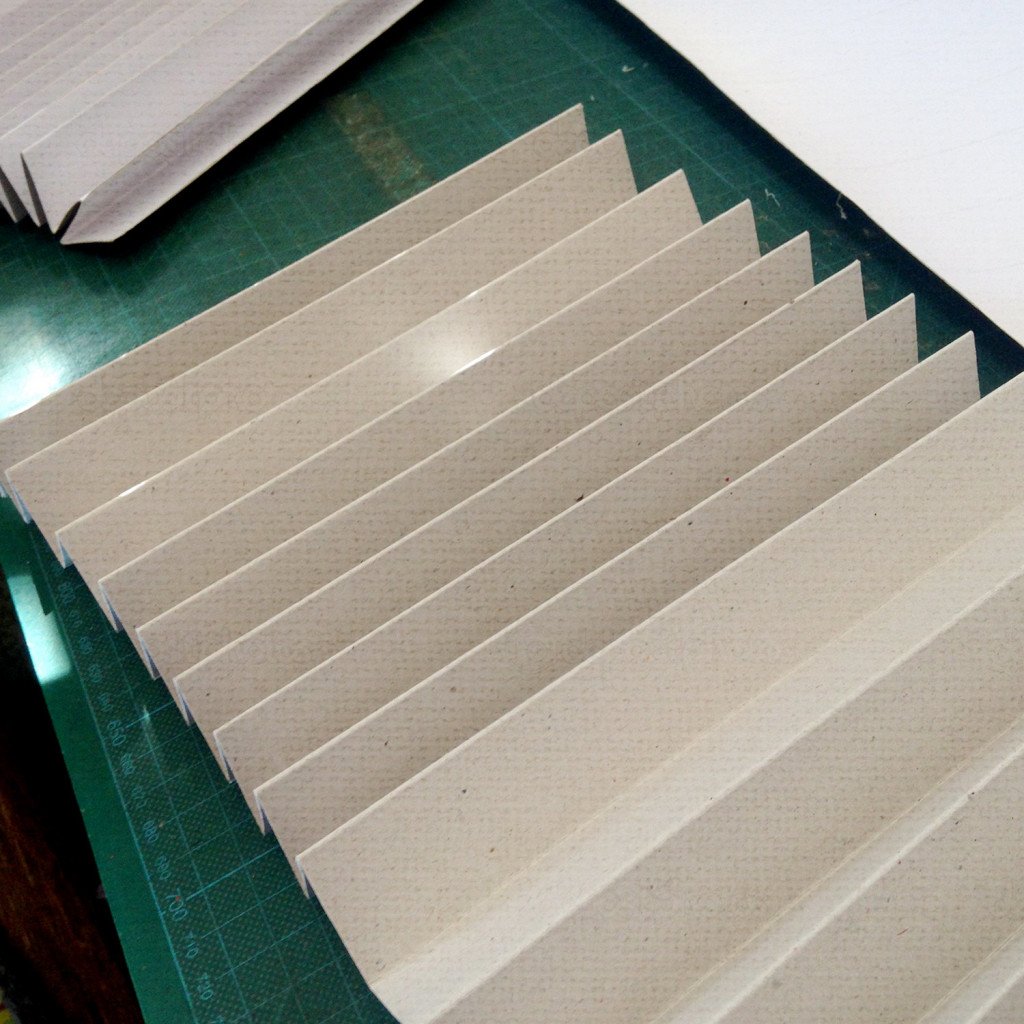
Using the score lines, fold the card into a concertina.

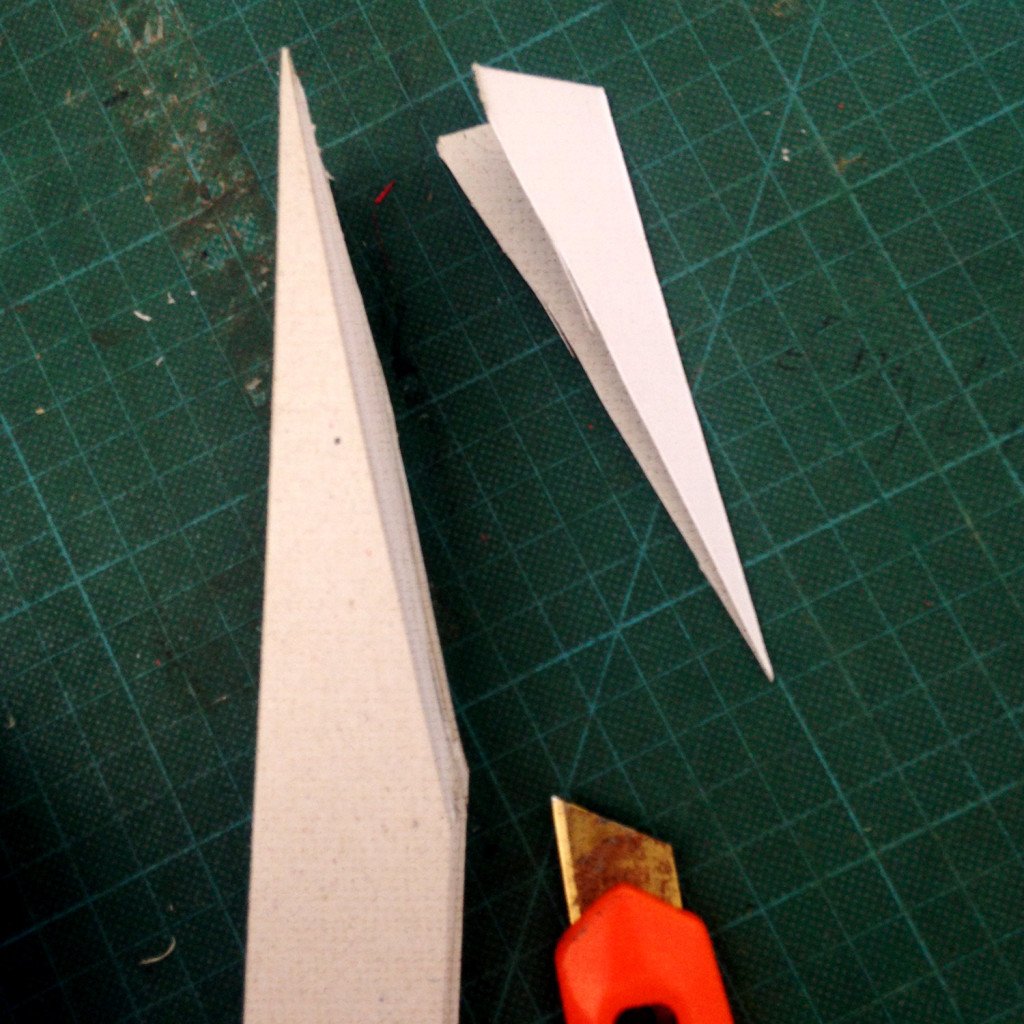
Cut the tip off the end of the fold, cutting all the layers of the concertina folded card.

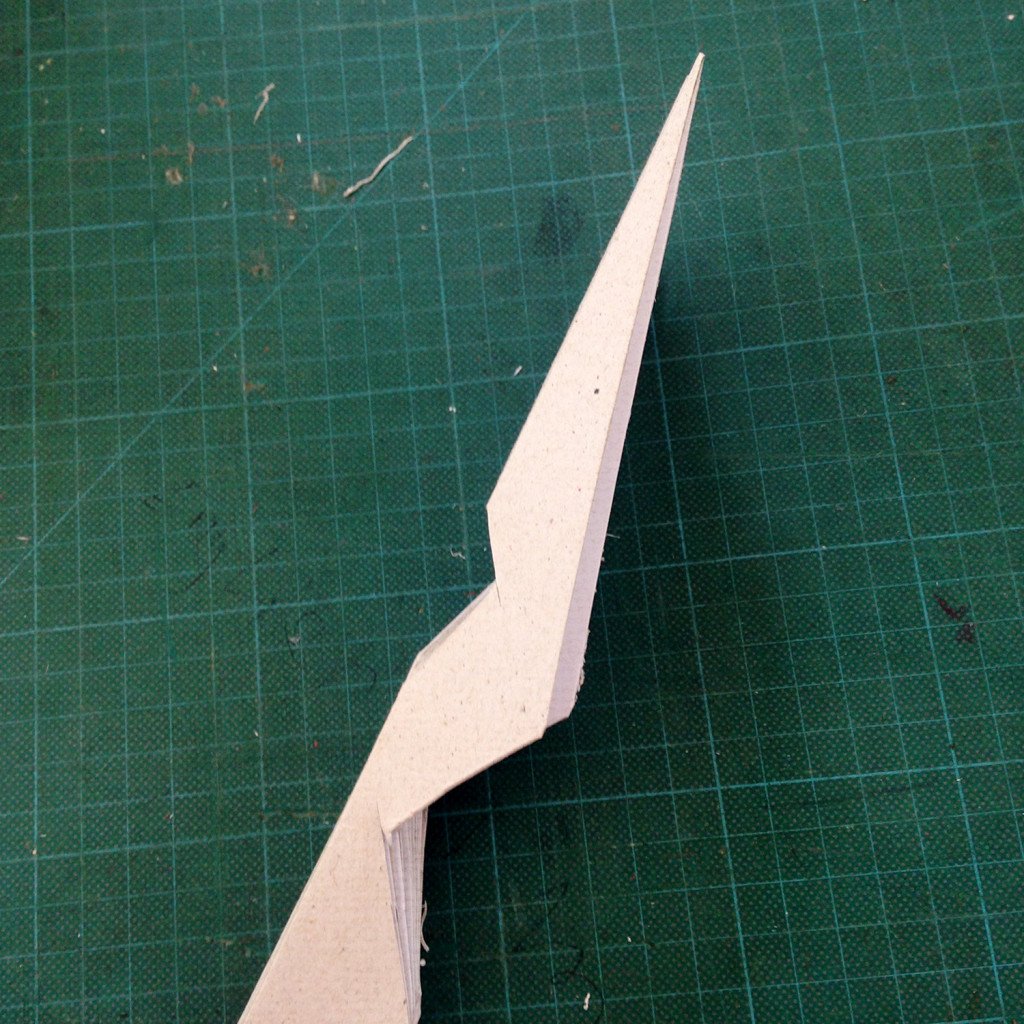
Down the length of the folded card, cut into the layers to make more groves.

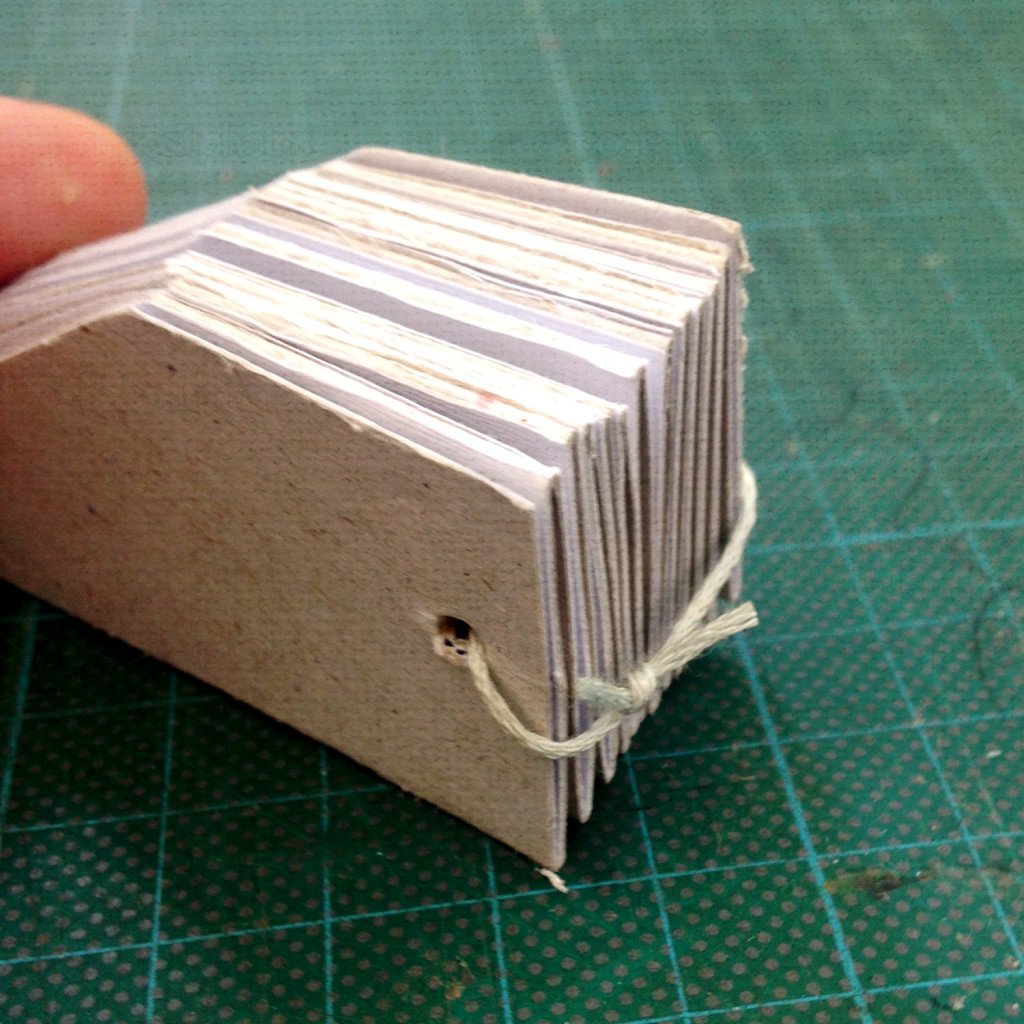
On the opposite end to your original cut tip, tie the layers together. You do not want this to be a tight tie, but you do not want it too loose. Upon completion of your paper snowflake, if  it is not flat, and it buckles, come back to this step and make this tie tighter. Likewise, if it is too tight, you will not be able to open the concertina folds to form a fully opened round paper snowflake.
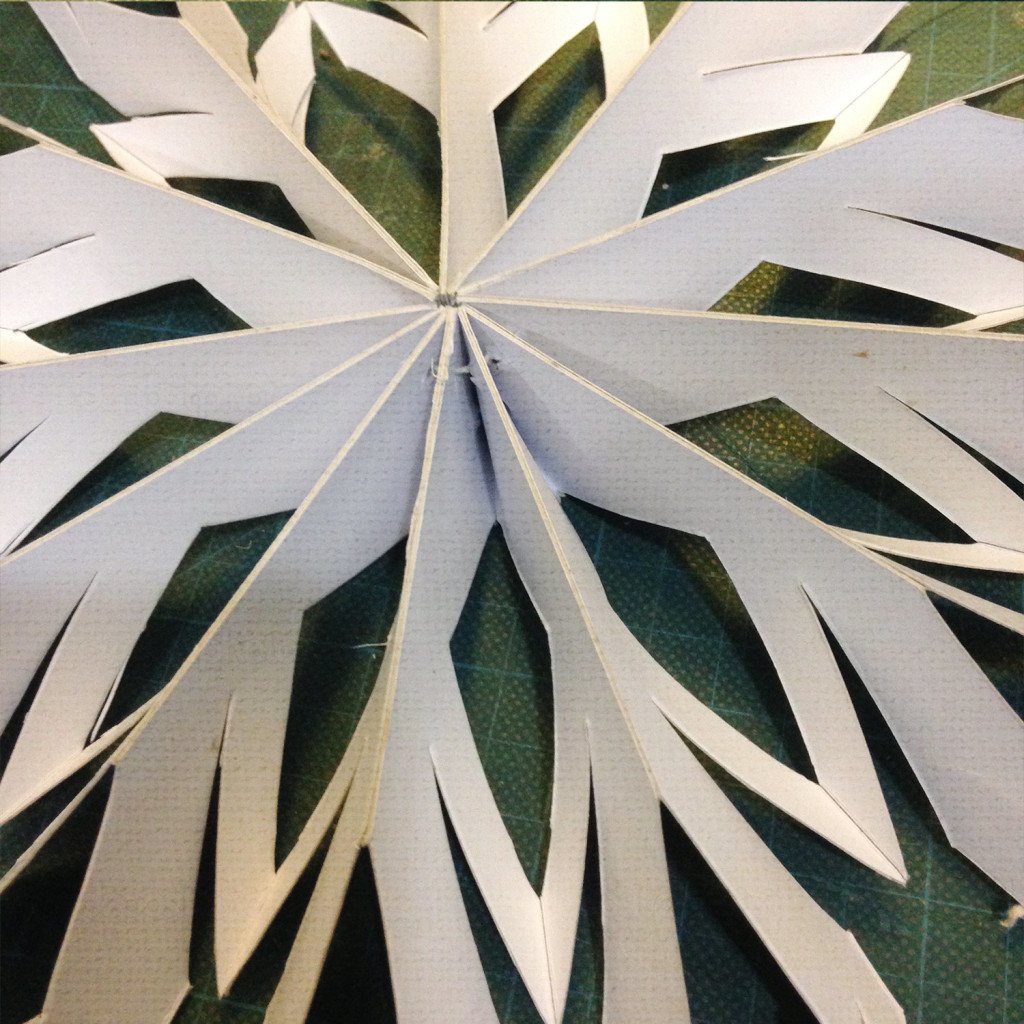
Unfold the paper snowflake and attach the two ends of the card by using the double sided tape.

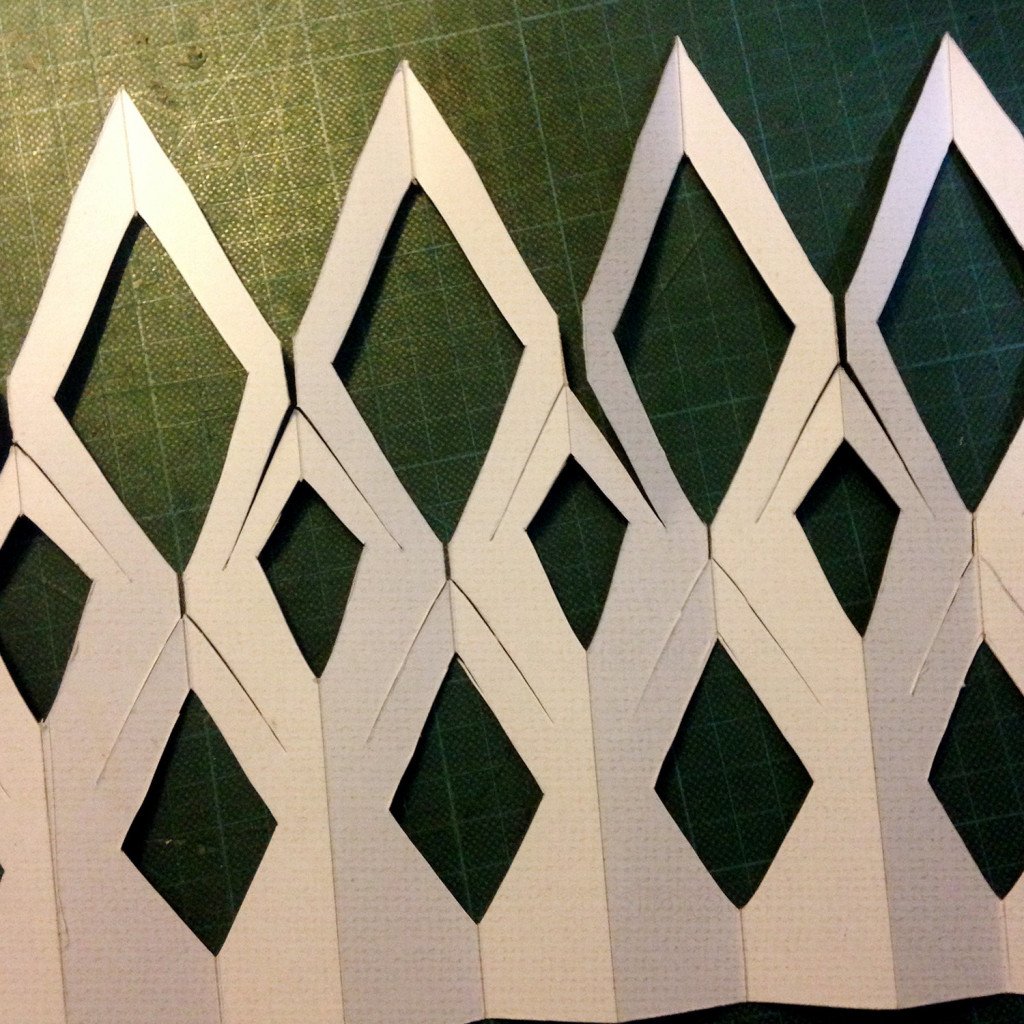
This image shows the unfolded concertina, prior to the stitching in the pervious step.

Posted on

Custom cushion fringe – Bullion Fringe

Custom cushion fringe - Bullion Fringe

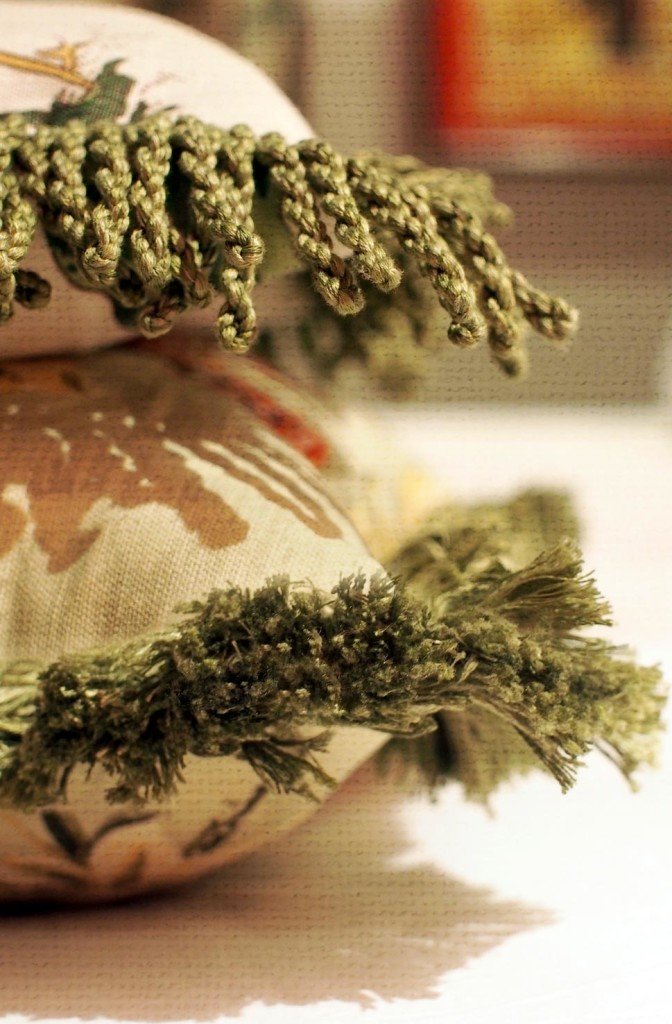
Weaving twisted threads with a loom turns into bullion fringe. The term originates from the thick metallic gold or silver fringe epaulettes and cording used on military uniforms.

Here at Passementeries® we make our bullion fringe with  high-grade mercerised cotton from a collection of some 600 colors.

The Bullion Fringe featured on this page is typically made for use in, say,  cushions or along the edge of curtains. Greater depth fringe, or tags, is  appropriate to furniture, such as along upholstered chairs or on the base of a sofa. The latter can be made longer and also fatter in girth, akin to cigars.  Ask us for more bespoke creations….

With two people working on the same fringe,
we are able to make 5 – 7 meters / 5.5 – 7.5 yards a day.

Posted on — Leave a comment

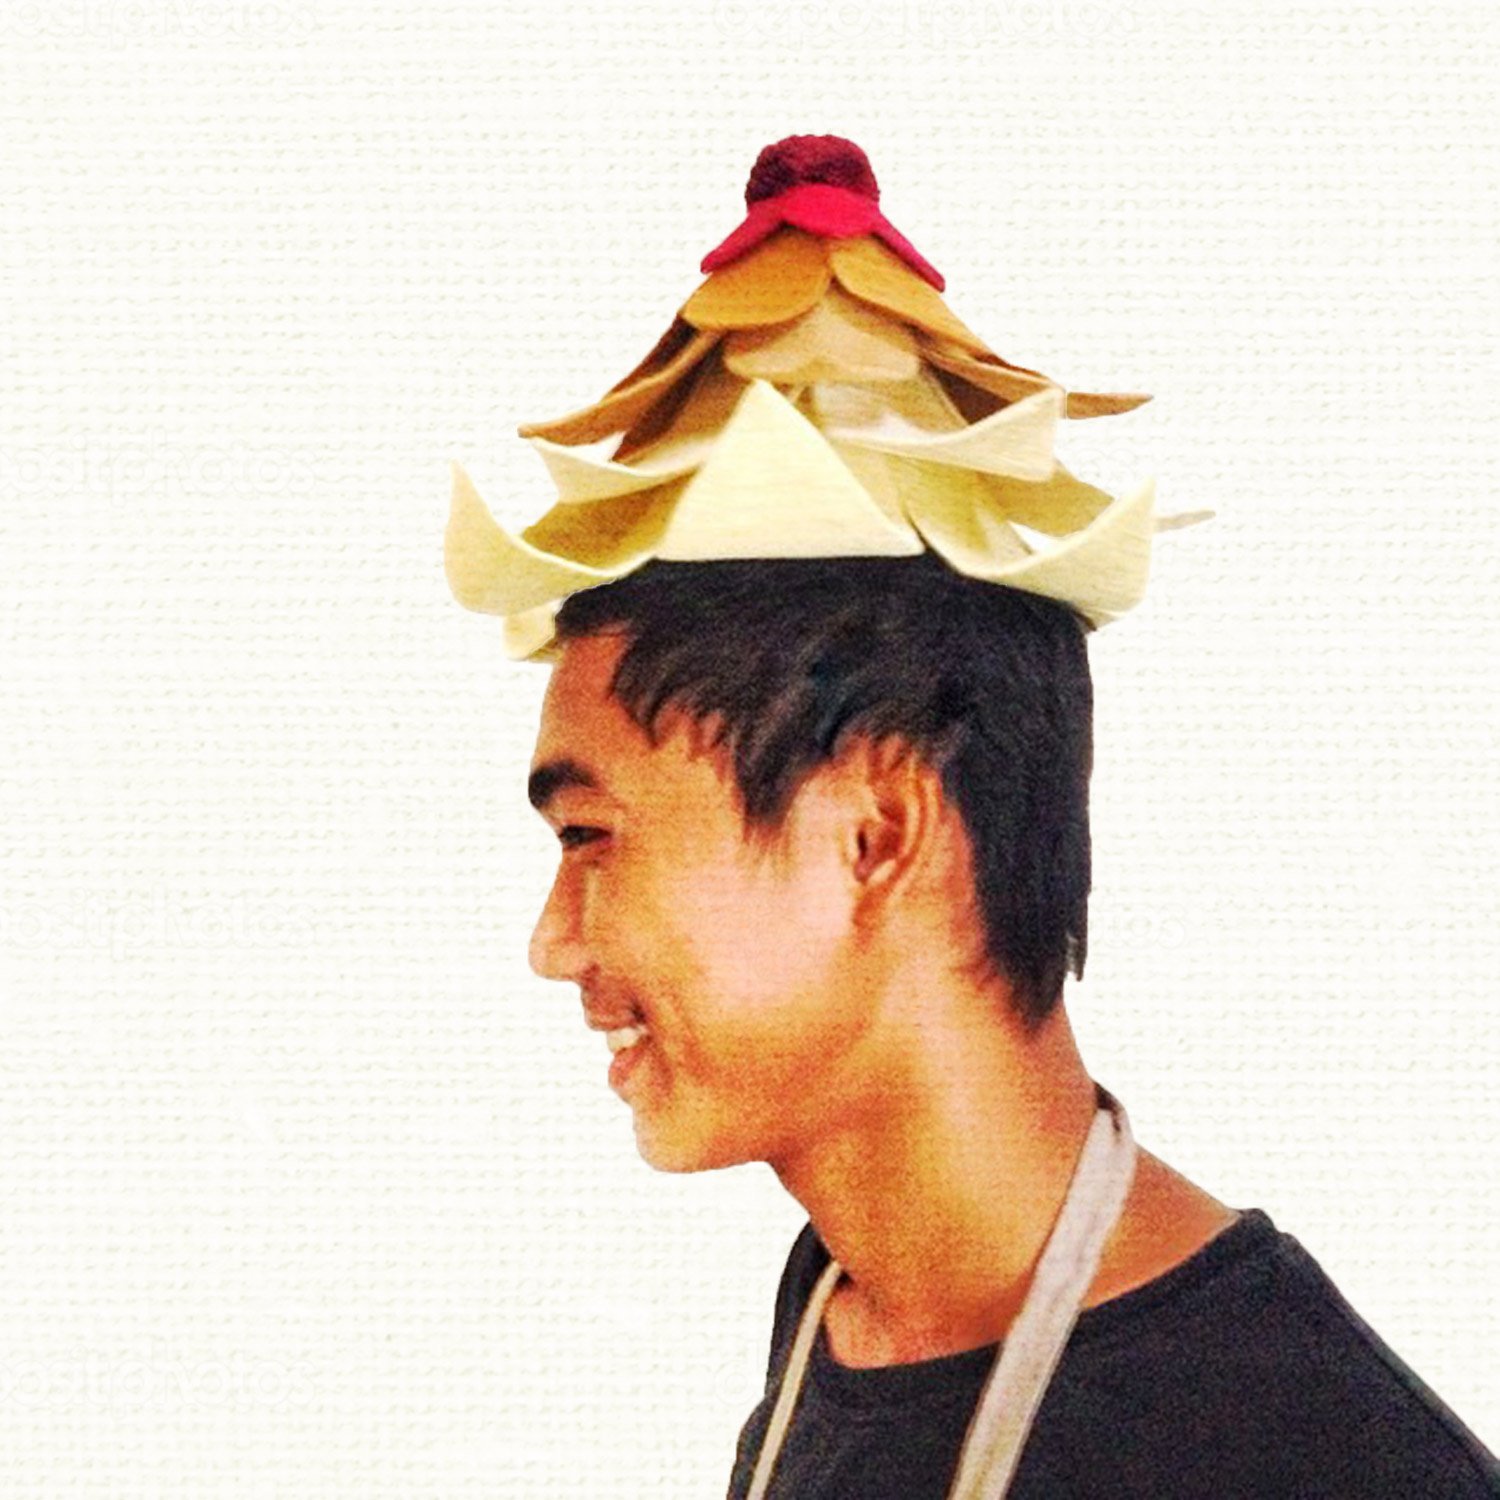
Two weeks it took to make this ceiling rosette and it took just 10 seconds for my staff to turn it into a hat!

TRENDING

November 11, 2026

Two weeks it took to make this ceiling rosette
and it took just 10 seconds for my staff to turn it into a hat!

This ceiling rosette took a laborious two weeks to construct. When it was finally completed, before it has time to be used as a ceiling rosette, my staff grabbed it as a decorative hat.

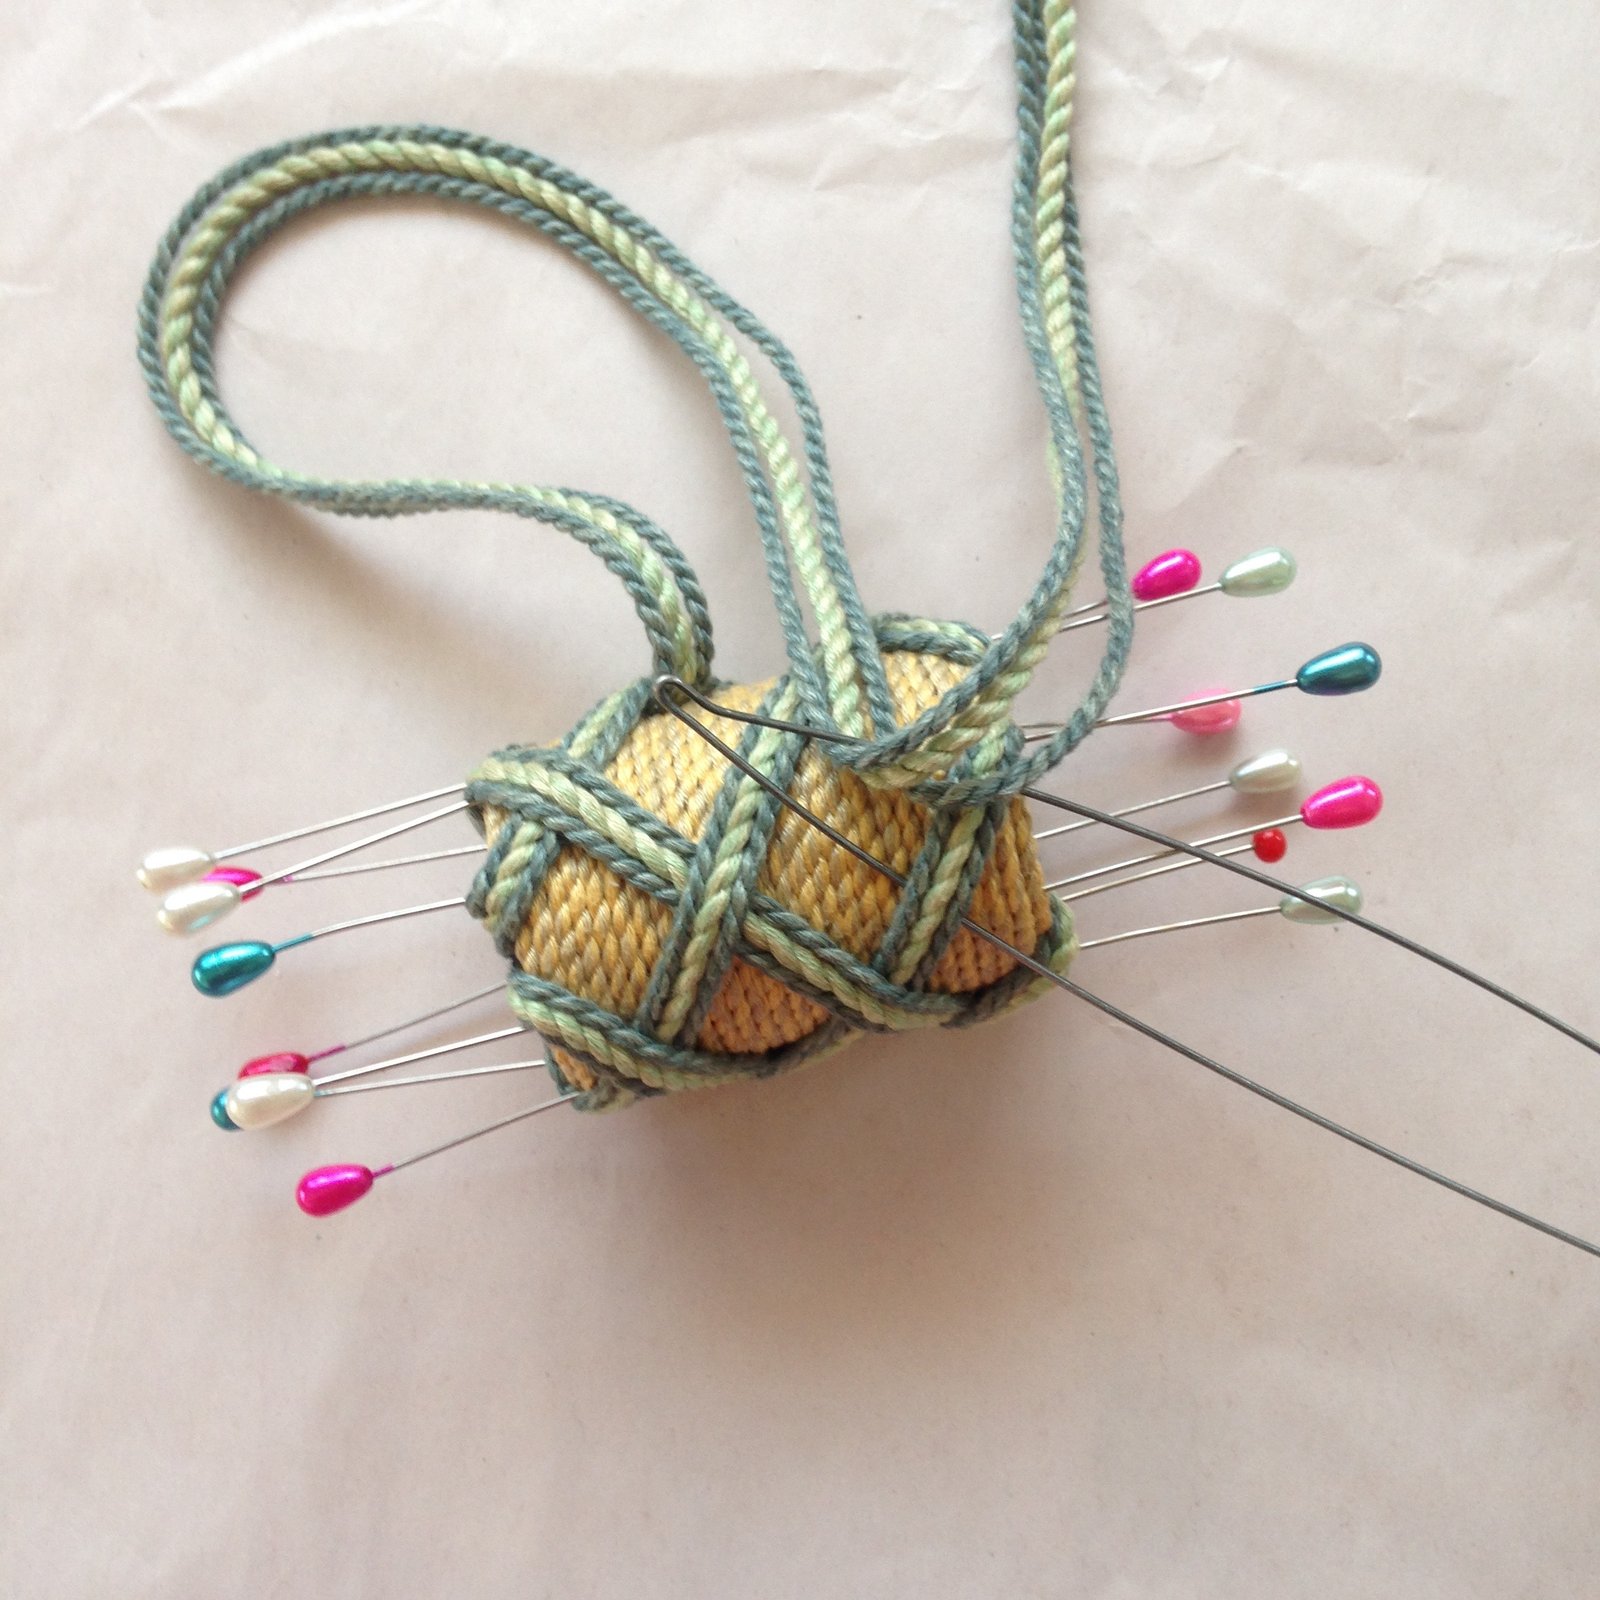
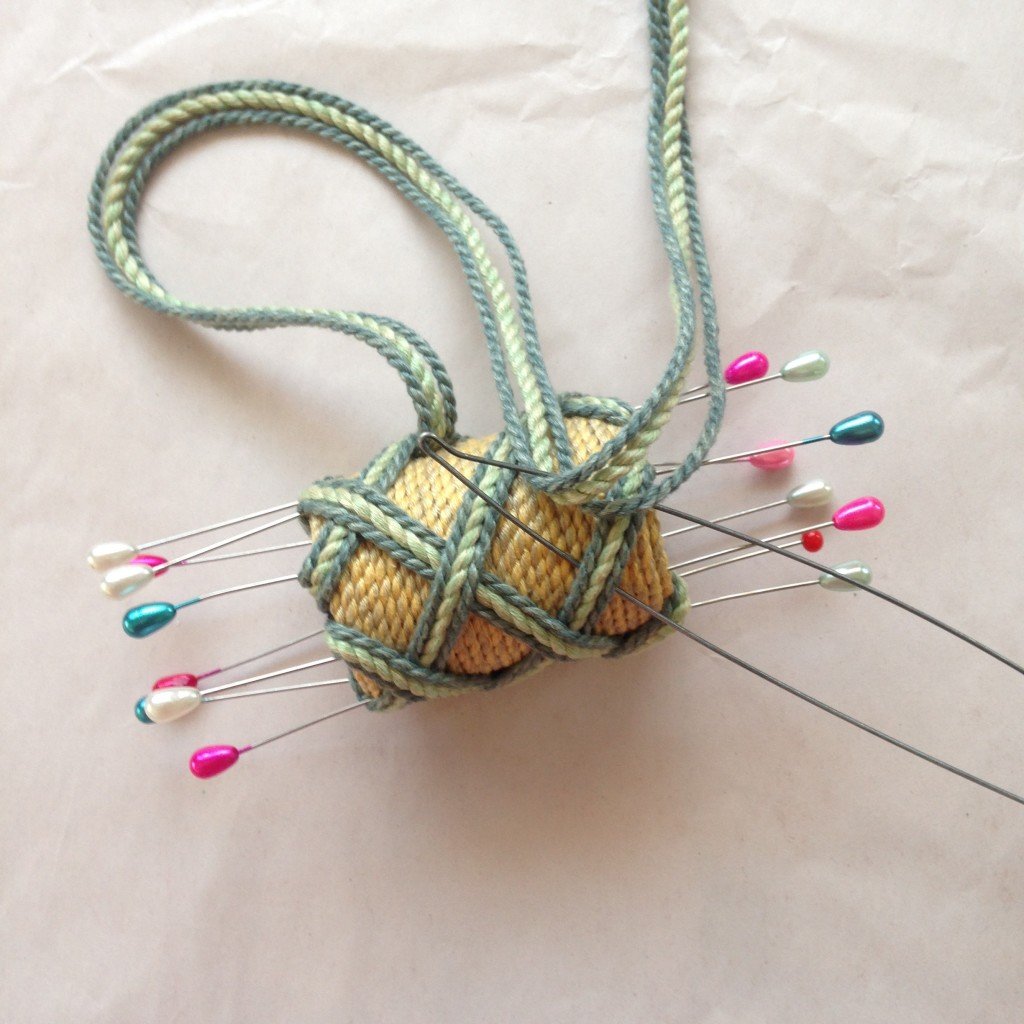
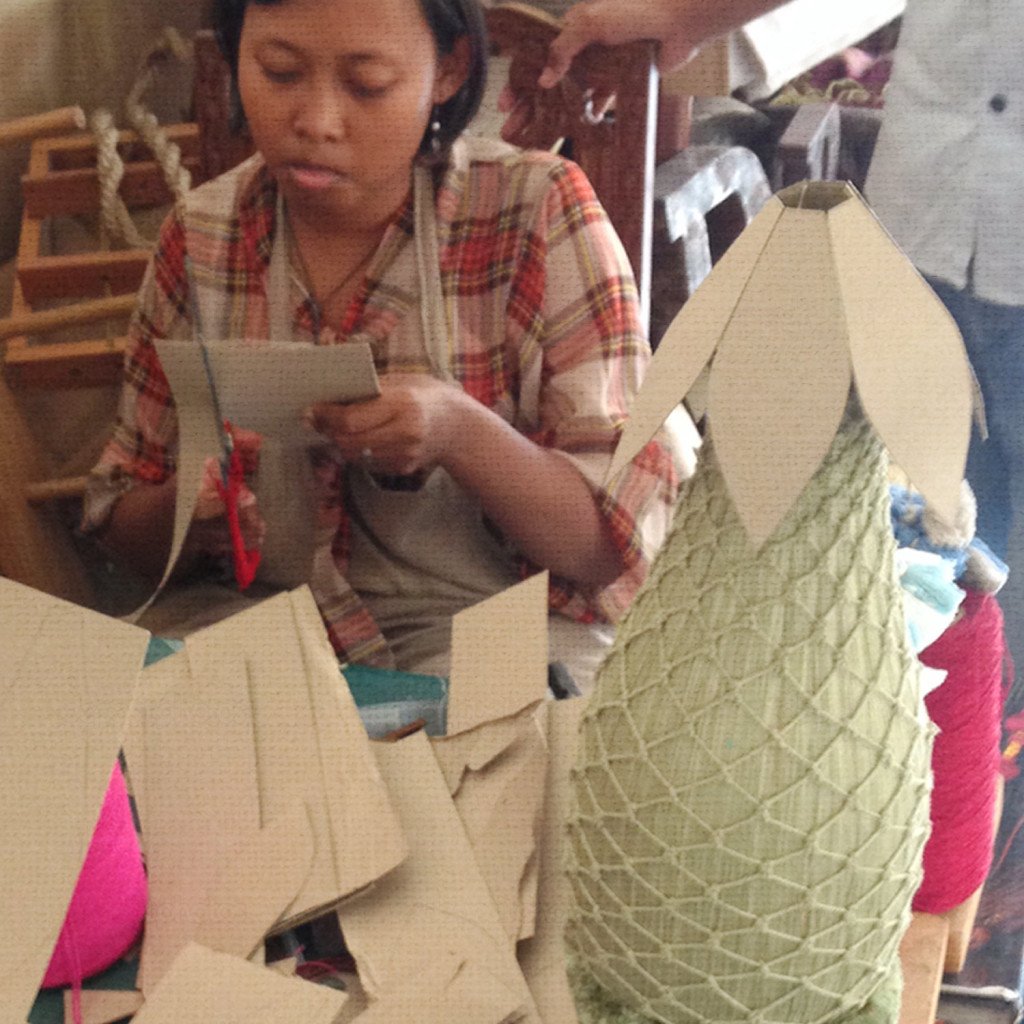
This learnt this technique when I visited Versailles where in the hall of mirrors they have many chandeliers with stunning ceiling rosettes. The basic technique is you cut a card into a shape and then wrap it in a thread. It’s not easy to do, but the end results are worth all the effort.

It ended up being used for our mosquito net at home.

latest posts

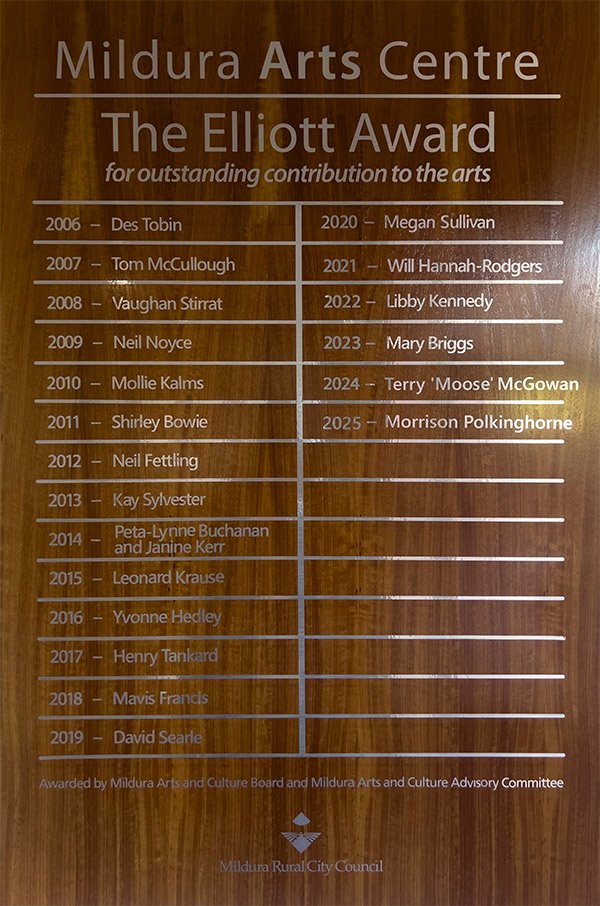
Elliott Award 2025

Recipient for the 2025 Elliott Award

Augmented Reality, turning old street shops into an new purpose.
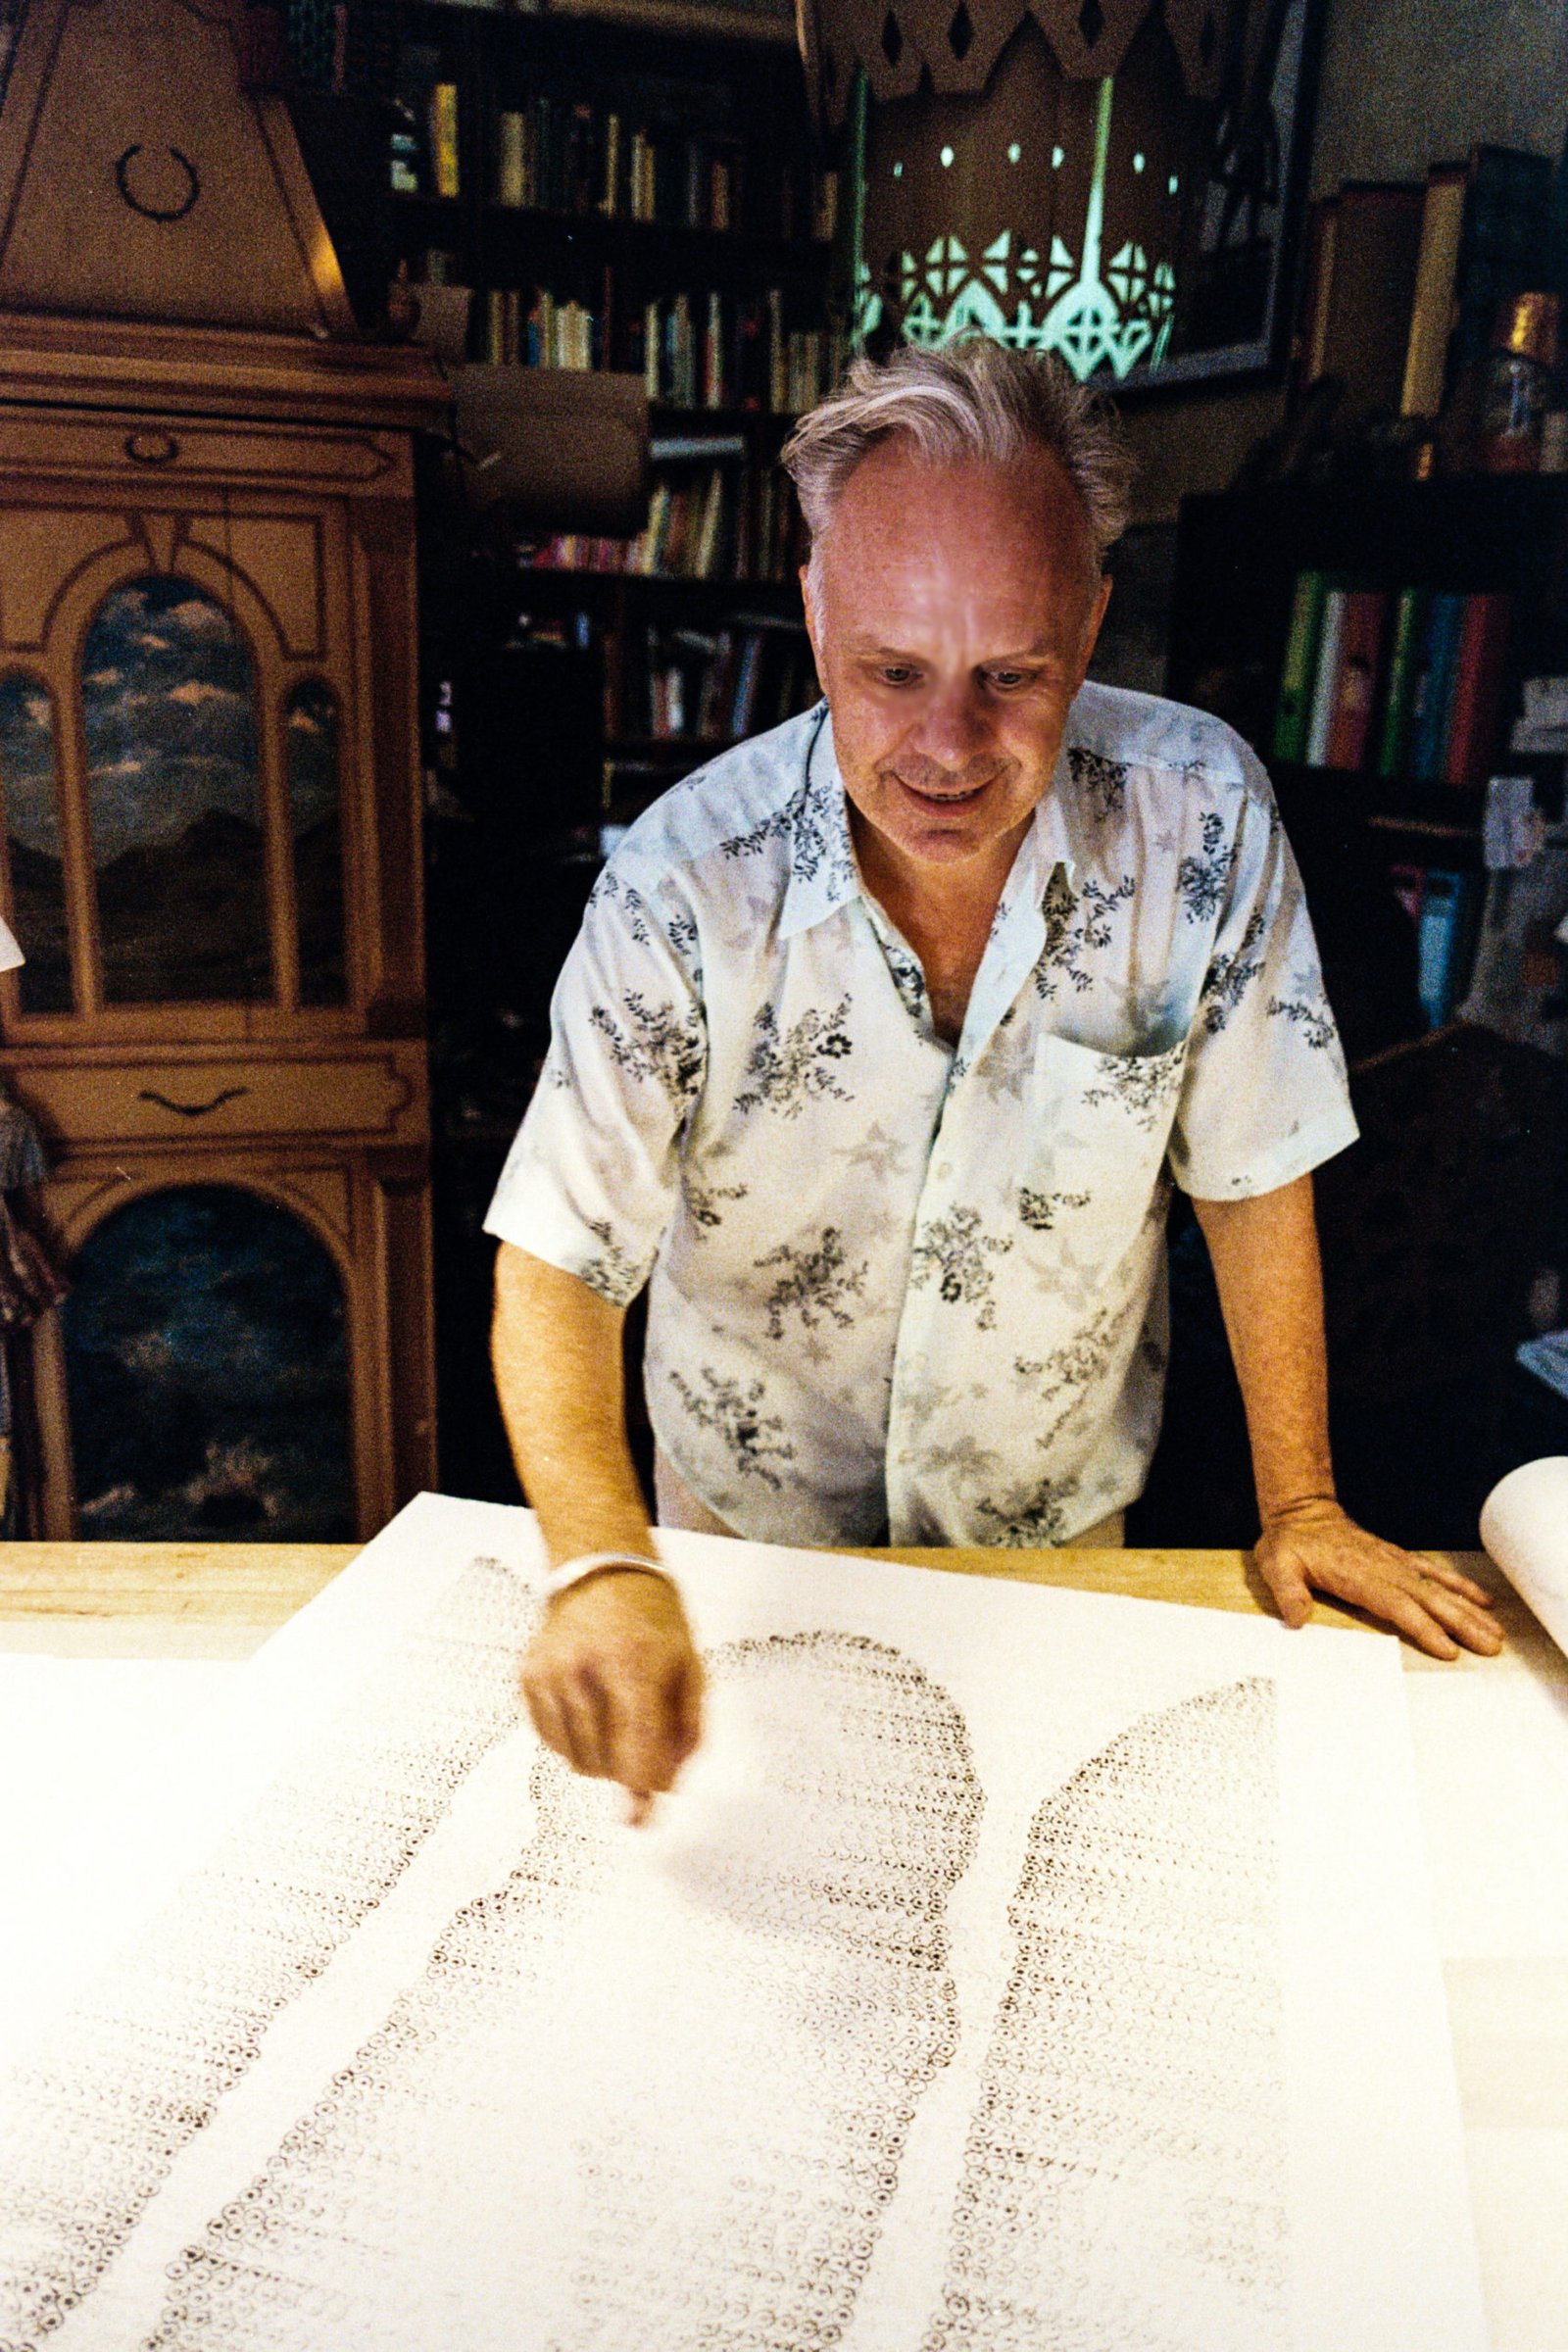
There’s joy in repetition. In my inked lotus works, each mark becomes a form of meditation when I paint. It is rhythm and stillness intertwined.
Posted on

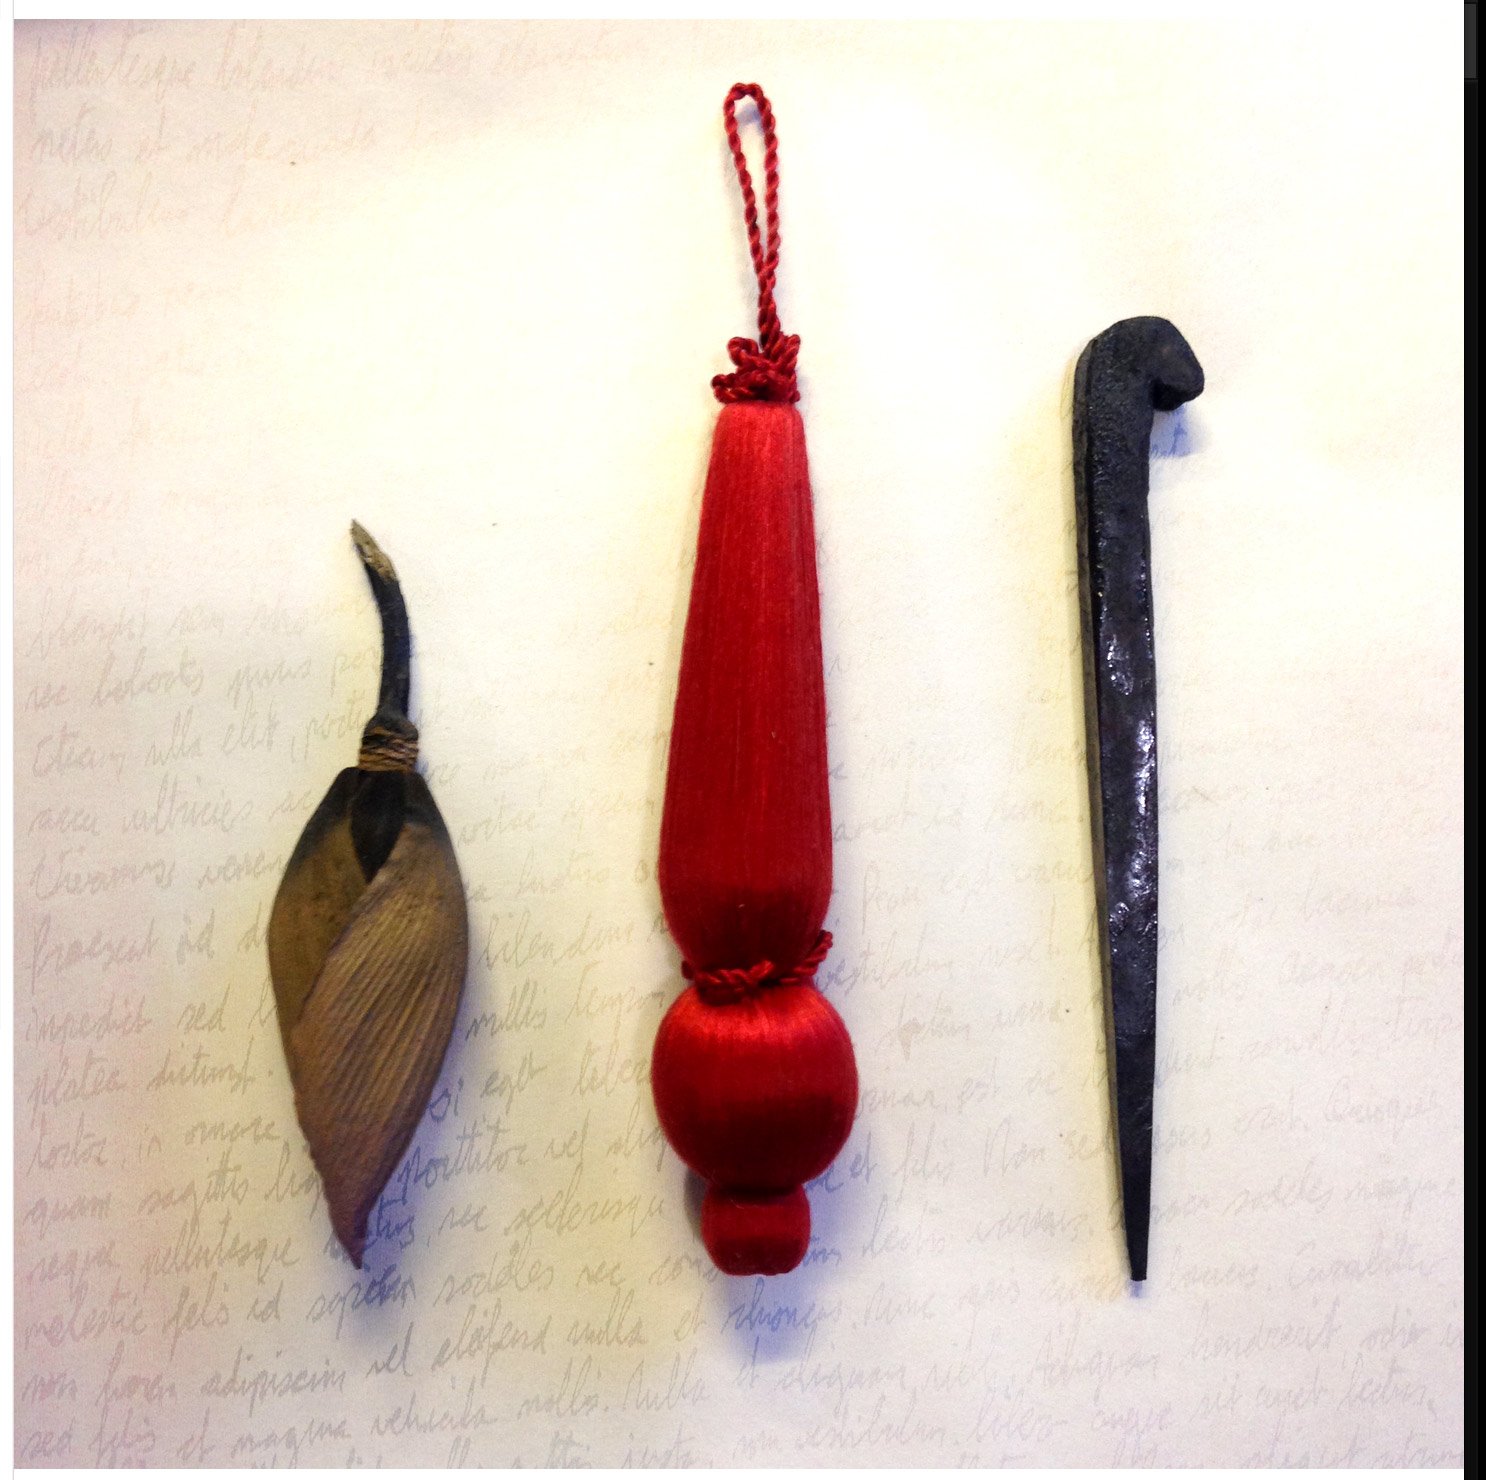
dried lotus, silk embellishments & hand forged nails

dried lotus, silk embellishments & hand forged nails

There are myriad reasons why I find a special of joy in living and working in Battambang, a city known for its creativity, musicians, artists and craftsmen. Here are some examples:

Dried Lotus:

Everyday we go to the market and buy a bunch of closed lotus flowers. We then fold the pedals back to reveal the flower, and when they die we just let them dry and  hang them in our Boutique. Their colours become a subdued ashes to rose hue.  We’re  slowly instructing our staff to appreciate the exquisite beauty of natural transition.

Silk Embellishment:

For many years Passementeries (R) has been making similar embellishments, from hi-grade mercerised cotton, available in hundreds of colours. These are then attached to the sides of tassels, or spaced along  bullion fringe. I’m excited by this development, and seeking a quality Khmer or Thai silk suppler, instead of relying on Chinese imports. This is the first embellishment made from silk threads.

Hand Forged Nails:

I commissioned these artisanal nails, the originals fossicked a few years back at a small northern Vietnamese market along the Sino border.  They were reminiscent of Medieval European studs, and my Sydney designer clients almost immediately bought out my original supply.  Depleted, but we wanted to decoratively hang paintings in our new home in Battambang.  We worked with our local black smith to recreate these nails. Now we have a large supply, and in three lengths. Custom sizes are also available.

Posted on

Massive Jute Tassels for Rangoon

Massive Jute Tassels for Rangoon

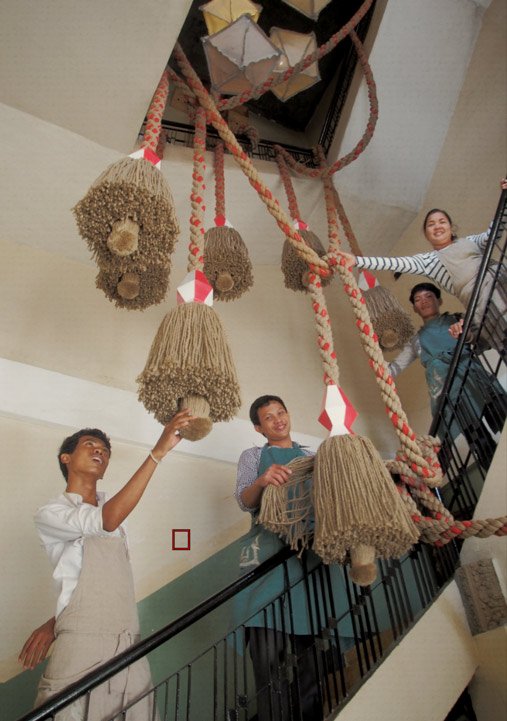
I have always loved natural fibres such as jute, linen, sisal, cottons and silks and when I started making tassels three decades ago they were orignally made from these same rustic materials. My latest overseas commission project is for over-sized tassels, ropes and large light shades for a faithfully restored Edwardian commercial building in downtown Rangoon,Yangon. Can’t wait to see the actual installation going in next week!

I was designing a new tassel, first by commissioning a local blacksmith to make the metal head of the tassel. But the design needs to be oversized, plus painted red and white to incorporate the logo colours of the client. The rope was exhausting to make. 

Thankfully I had a new staff member, Mr Channa,  who was a god-send. I taught him how to make rope using by Captain Cook rope twister installed on our roof, and he excelled in twisting the threads.

When I teach a workshop, I have people make a thin simple cord about a few millimetres thick (fraction of an inch) and that takes just a few minutes to make. By contrast, this 14 metre/18 yard rope weighs in at  20kg, is about 10 cm/4 inch diameter and took 4 hours to pull out all the threads and an entire day to complete one rope. We needed to make four ropes for the job.

Here, Miss Channa (no relation) is carefully trimming the tassels, while painstakingly attaching  decorative embellished cable cords.

Now they are all completed and hanging in Bric-à-Brac Battambang, waiting to be installed next week in Myanmar. So for 2 days only, we’re having our own art installation hanging from our 3 storey atrium.

Posted on

Training in Battambang

Training in Battambang

At Passementeries we’ve been hand-making 18th Century French tassels and trimming since 1990, while teaching skills at training workshops over these past decades.

There are some people who simply love to watch how a tassel is made, and how an intricate braid is slowly created on the loom in front of their eyes. There are other people who prefer hands-on, learning actually how to make a tassel and twist up a cord. Some people like to make a simple tassel with me, while others ask me to craft their tassel while gasing in voyeuristic fascination.

I would say, in the past decades I’ve met few who truly have the knack to master these skills; those who can easily twist a thread and wind a tassel in no time at all. Even with my staff, it takes several days of making tassels just to perfectly make one, and at a reasonable speed. Converesely it takes much longer to train a true artisan who can glibly weave thousands of perfectly matched tassels on, say, a tassel fringe.

One of the special delights about training staff here is discovering Cambodians inert knowledge to craft trimmings and tassels. They are keen to master new ideas in creative design. Weaving is part of parcel of a locals’s daily life, and their deft application to other crafts is exemplary. Likewise, this is a special knack that I, too,  love.

One example is a making a looped ruff. Such a ruff is applied to ornate tassels, and may also be used between the skirt and the head of a tassel (see image below). It is the one of the most difficult technique to master — and equally difficult to teach. Making this looped ruff incorporates two threads as the warp spins around a bunch of threads while the weft is  twisted on a dowel. I learned this technique from a century old French tassel making book,  and it took me hours to rig up the device and even longer to master the technique and its minute skills.

Don’t pull the threads too tight around the dowel, although they need to be bunched closely together. You will need to hold the warp taught and make sure you wrap the bunched threads around the dowel every 180 degree spin of the warp. Now in Battambang, I have four staff that know how to make the looped ruff as good as master trained apprentices. Seemingly,  they already had the inert skills and techniques passed down from generations.

This is just one of the many delights about relocating to Asia, and having my trimmings and tassels made here.