
Posted on

Wrapping Julie’s Christmas cookies for Westinghouse

Christmas wrapping for Julie Goodwin

Westinghouse and Julie Goodwin owner of Julie’s Place cooking school has teamed up with stylist, Morrison Polkinghorne.

Julie Goodwin made a batch of Christmas chill mango chutney and some Ginger cookies but I was in Myanmar at the time, so Westinghouse especially flew me from Rangoon to Sydney to teach how to wrap the jars in fabric.

www.juliegoodwin.com.au

With Julie’s Ginger Christmas cookies I packaged them in a small waxed box, lined in a handmade crepe paper and trimmed with an origami paper strip. Topped with a heart cut from a local Myanmar newspaper that I had in my suitcase.

Master the art of gift wrapping with Morrison Polkinghorne.

1. Embrace imperfection.
When it comes to wrapping use what you have, says Morrison. If your paper is crushed, crush it some more and enhance the distressed nature. Keep it very “wabi-sabi”; this is a Japanese term centered on the acceptance of imperfection. Alternatively you can iron crushed paper to give it distinct pleats but please don’t try to make it perfect and new, let it age.
2. The world is your wrapper.
If you’re not one for tradition and you are after a more cosmopolitan feel, bring back a local newspaper when you’re travelling overseas to wrap your gifts.
3. DIY
. The finishing touches really make a beautifully wrapped present stand out. If you can’t find any ribbon, make your own decorative string by twisting colourful twines together. These little handmade touches stand out a mile and creating something bespoke is the most generous and beautiful gift you can give.

latest posts

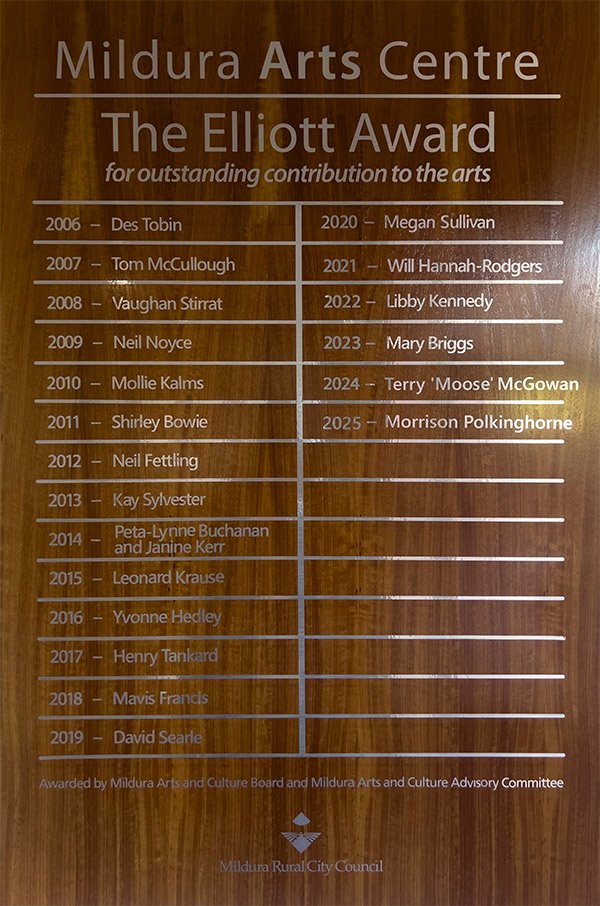
Elliott Award 2025

Recipient for the 2025 Elliott Award

Augmented Reality, turning old street shops into an new purpose.

There’s joy in repetition. In my inked lotus works, each mark becomes a form of meditation when I paint. It is rhythm and stillness intertwined.

Posted on

How to make Paper Snowflakes

How to make Paper Snowflakes

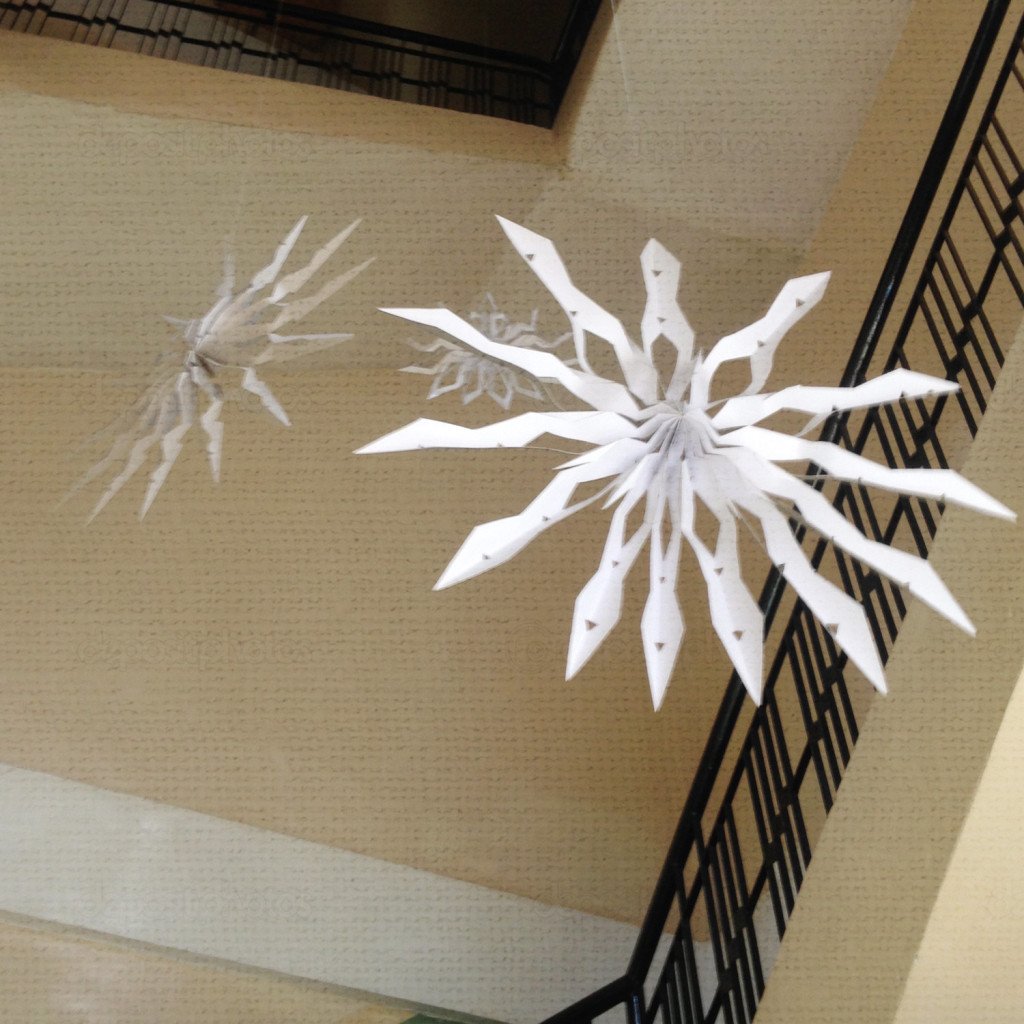
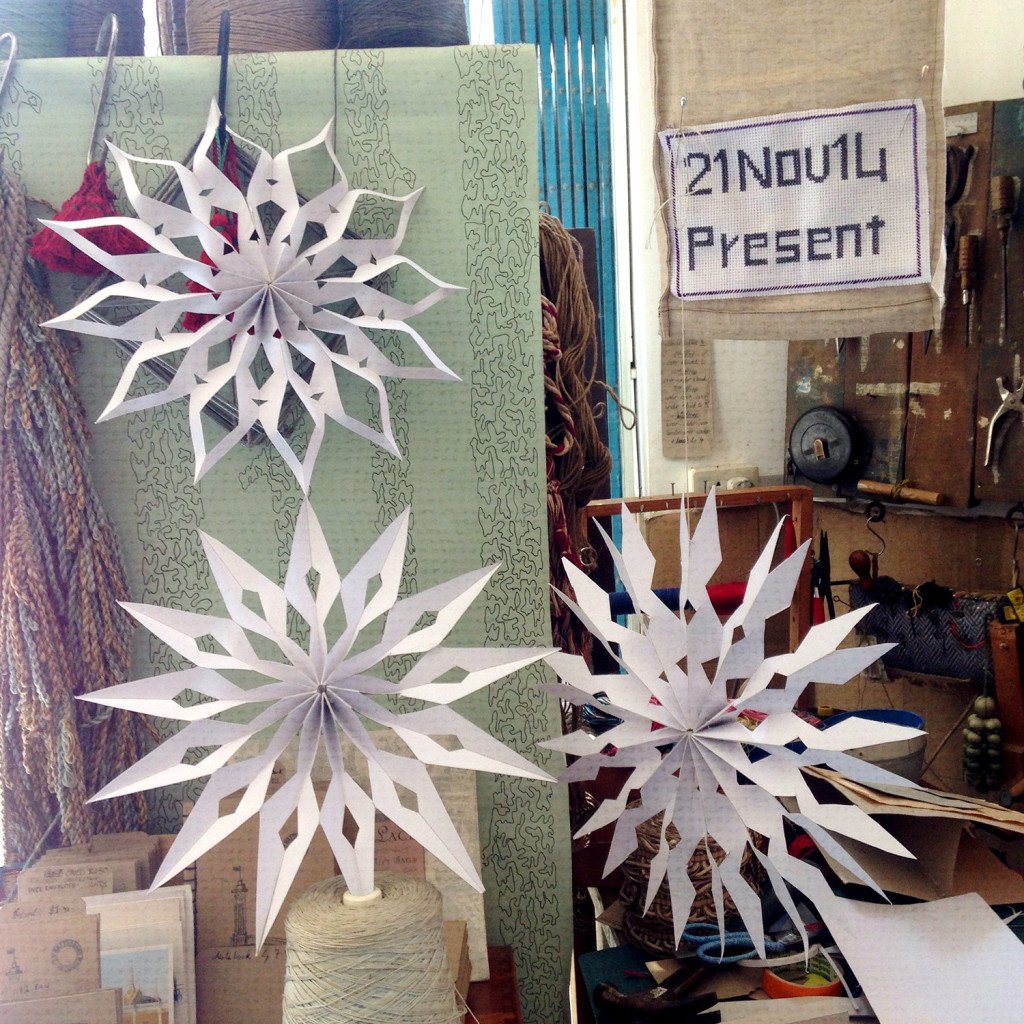
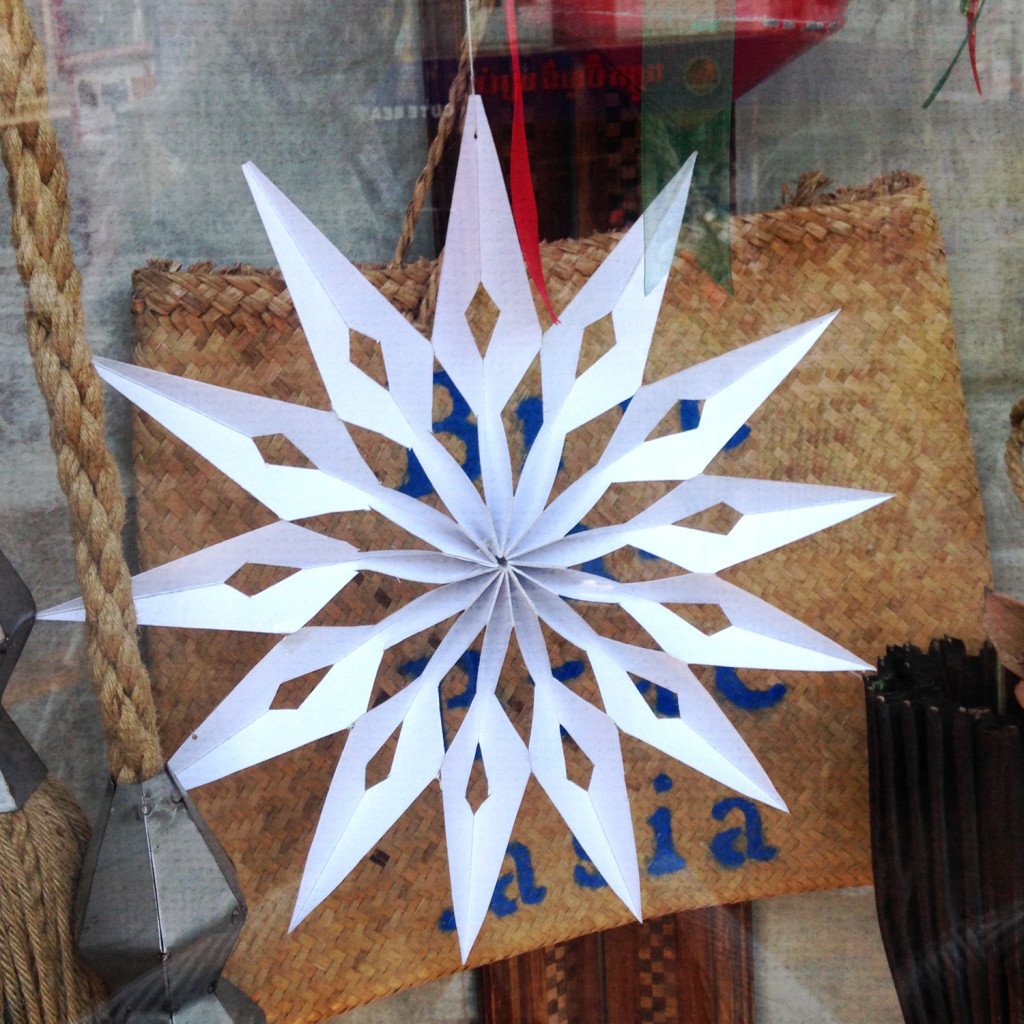
I decided this year to make Paper Snowflakes for our Christmas decorations. Simple and fun, but watch out for that dangerous blade.

Items required:
 – Card
 – Sharp Knife
 – Metal Ruler
 – Cutting Board
 – Double Sided Tape
 – Scissors
 – Needle and Thread

Cut a rectangle piece of card, two thirds longer than the width. The width should be half the total finished snowflake diameter.

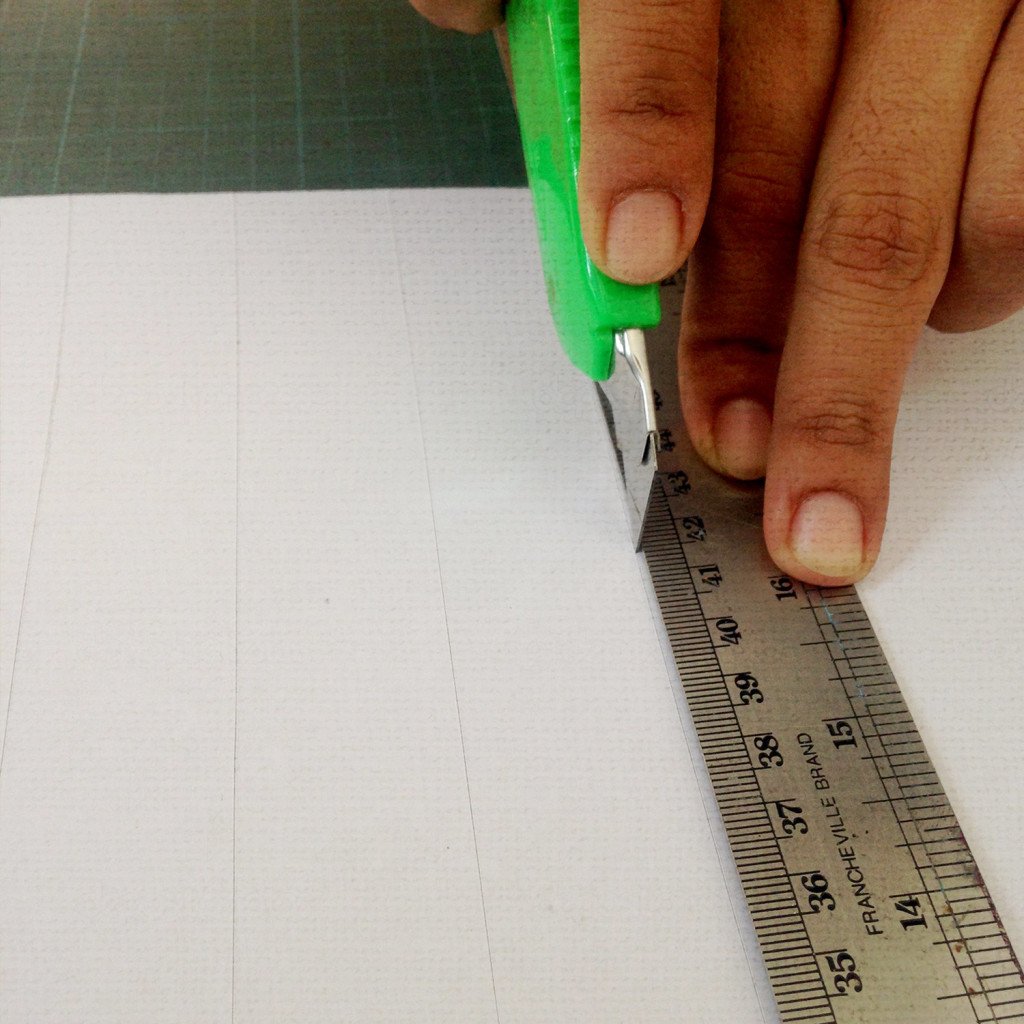
Score the card along the width with equally spaced score lines. Here, we make the score lines 4-5cm apart. DO NOT cut through the paper. These are only minimal score lines that only cut slightly into the card.

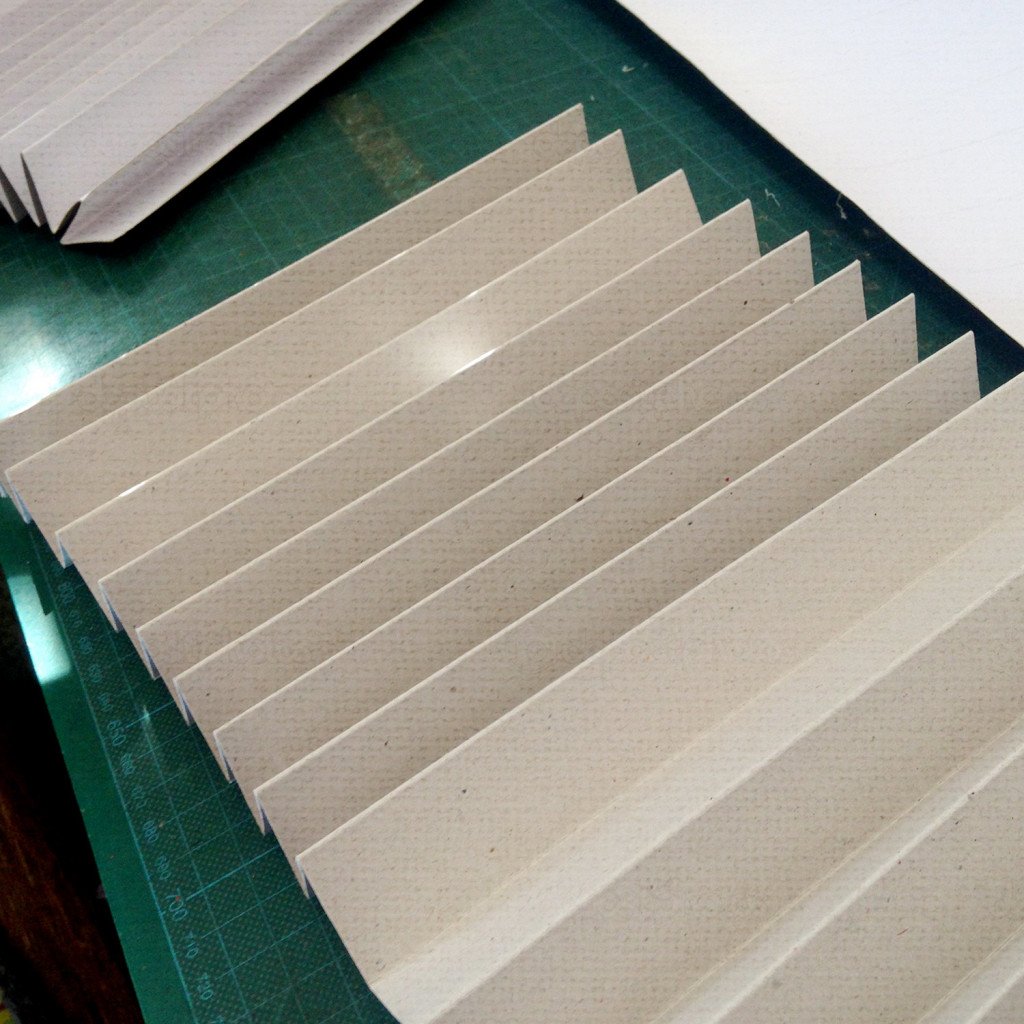
Using the score lines, fold the card into a concertina.

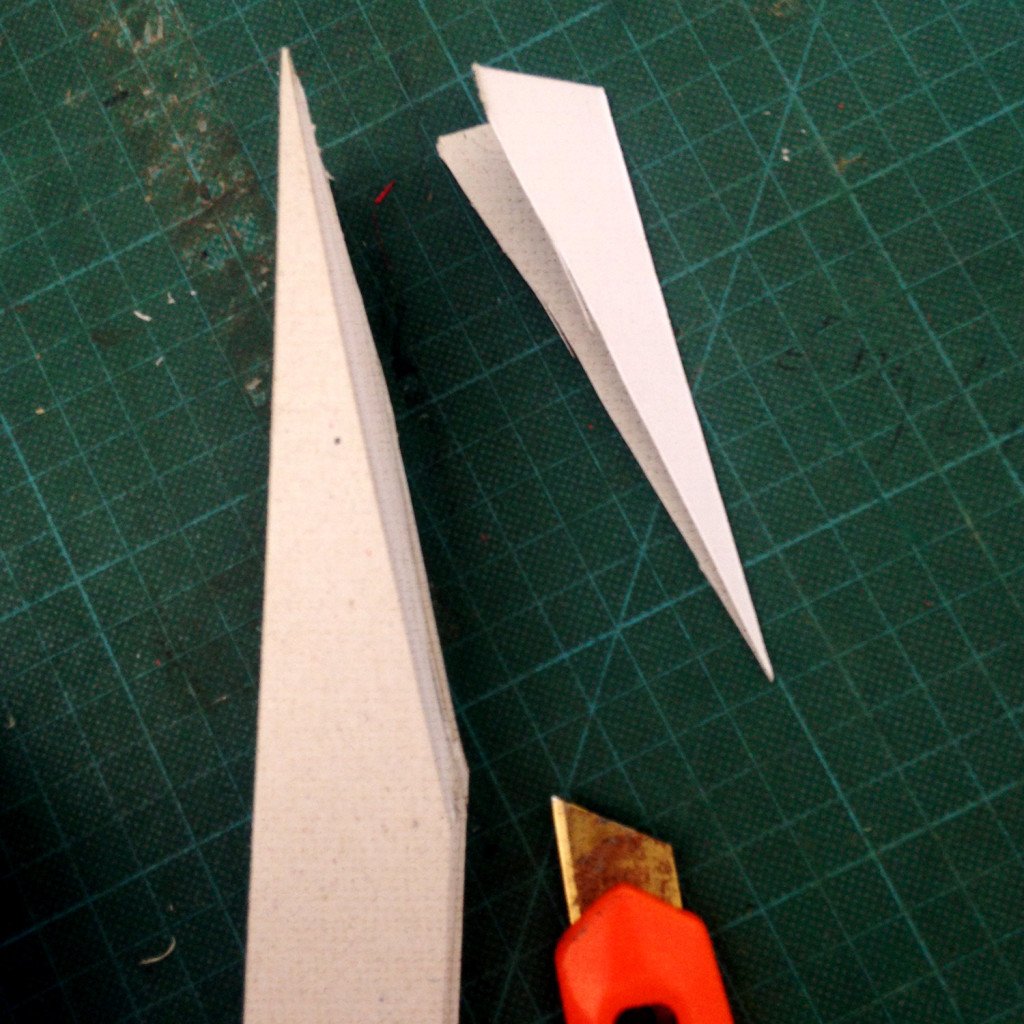
Cut the tip off the end of the fold, cutting all the layers of the concertina folded card.

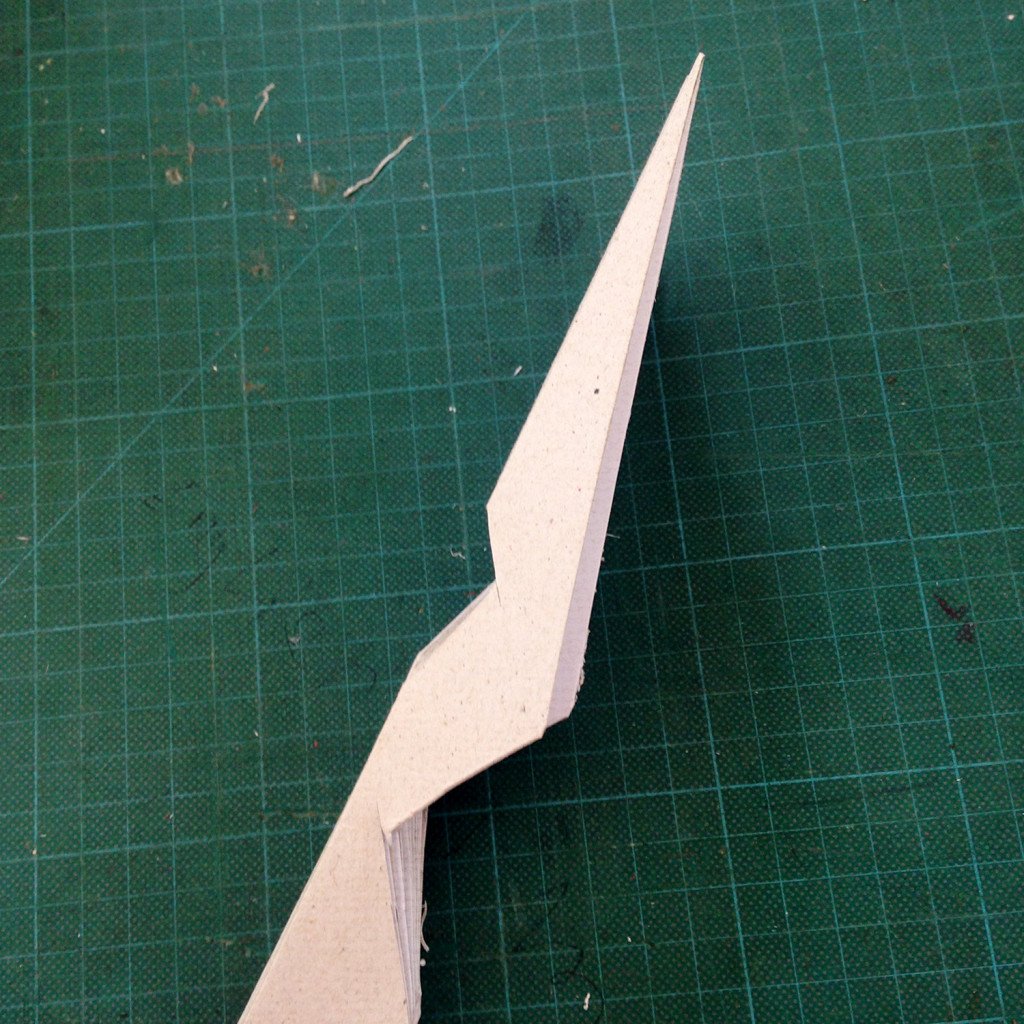
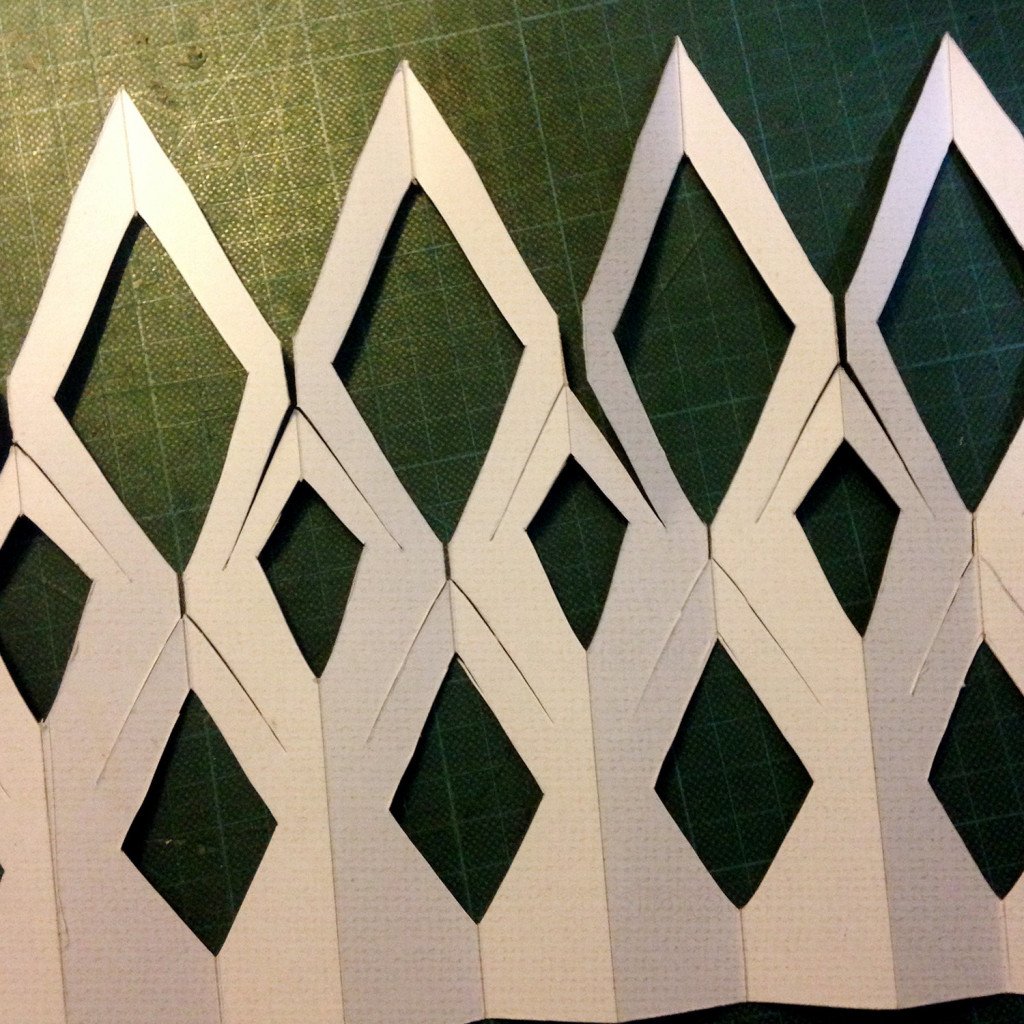
Down the length of the folded card, cut into the layers to make more groves.

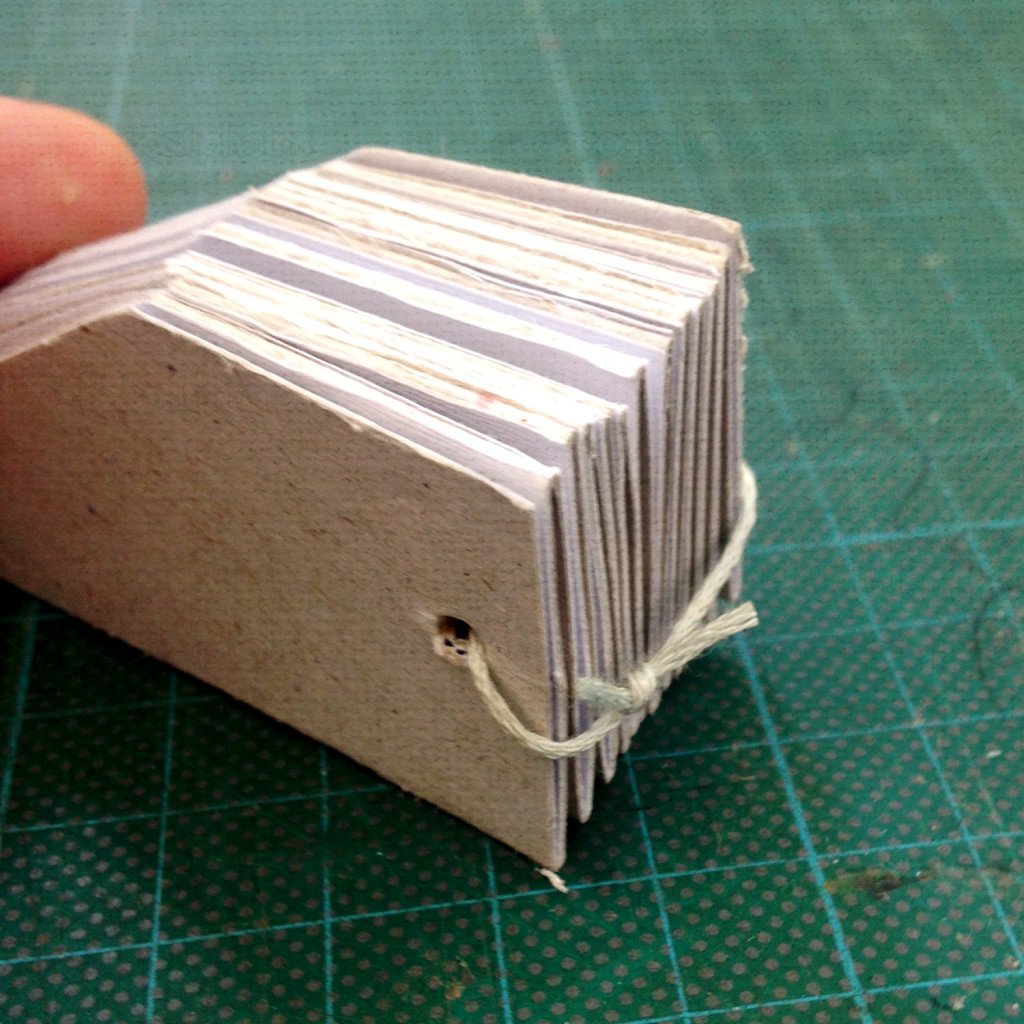
On the opposite end to your original cut tip, tie the layers together. You do not want this to be a tight tie, but you do not want it too loose. Upon completion of your paper snowflake, if  it is not flat, and it buckles, come back to this step and make this tie tighter. Likewise, if it is too tight, you will not be able to open the concertina folds to form a fully opened round paper snowflake.
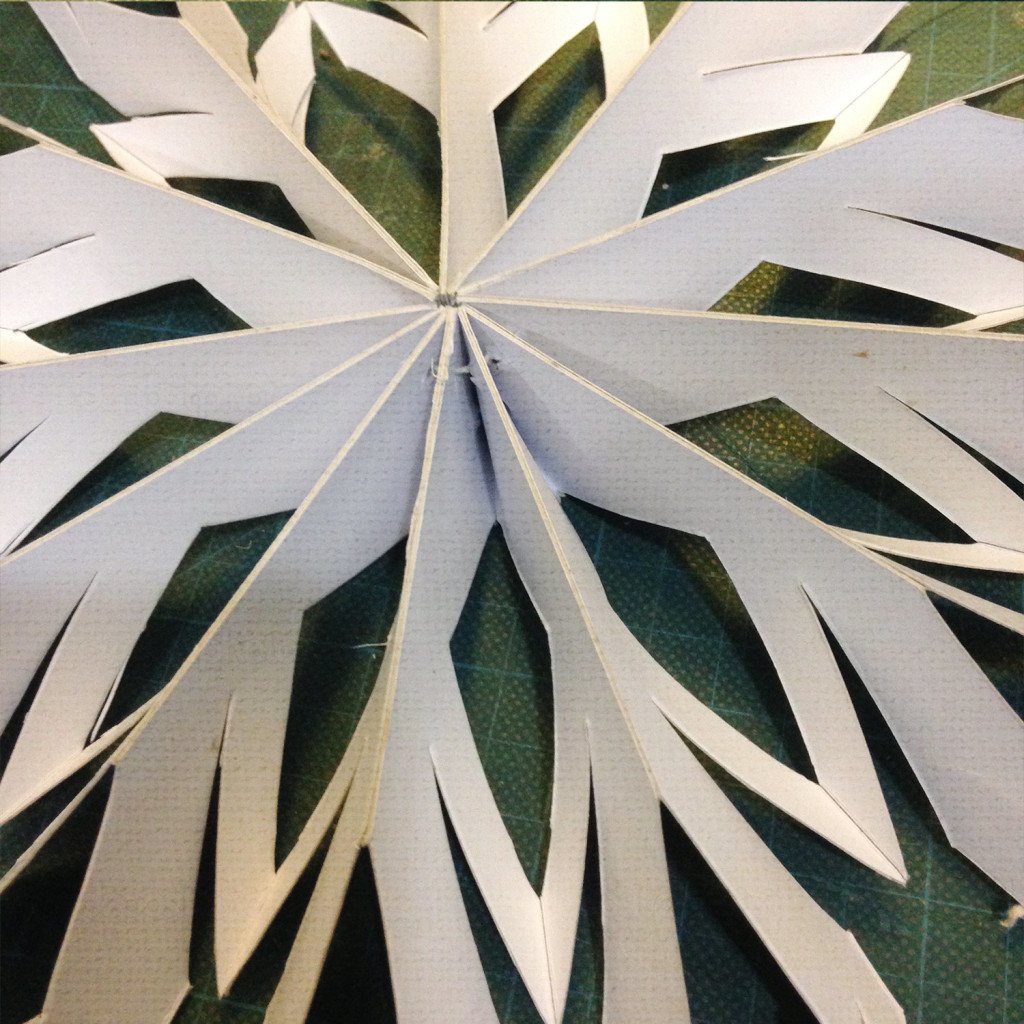
Unfold the paper snowflake and attach the two ends of the card by using the double sided tape.

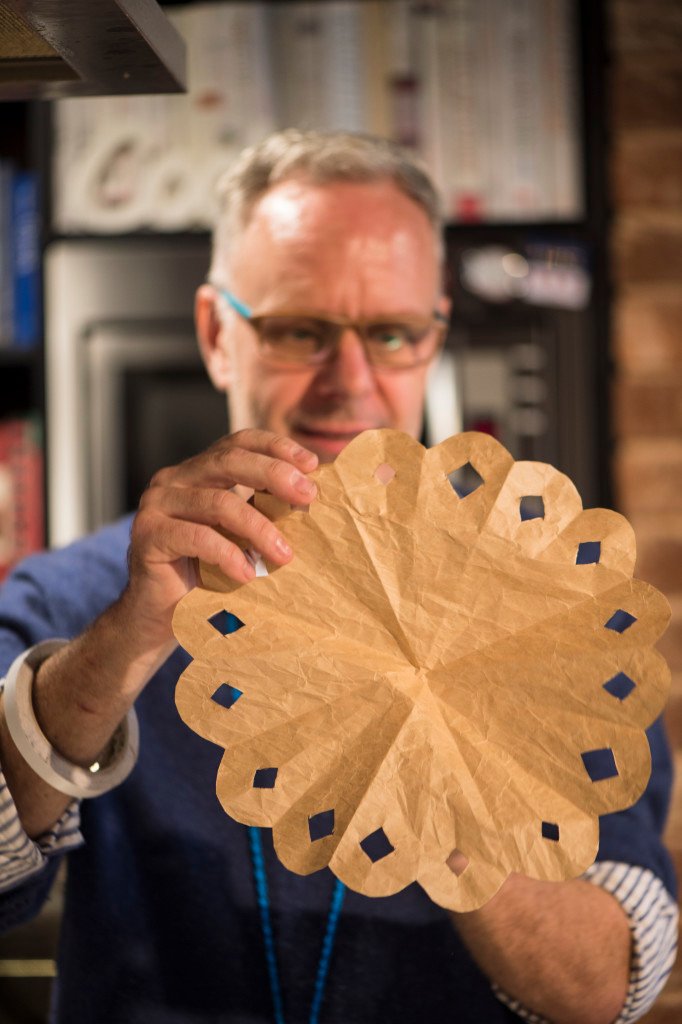
This image shows the unfolded concertina, prior to the stitching in the pervious step.

Posted on

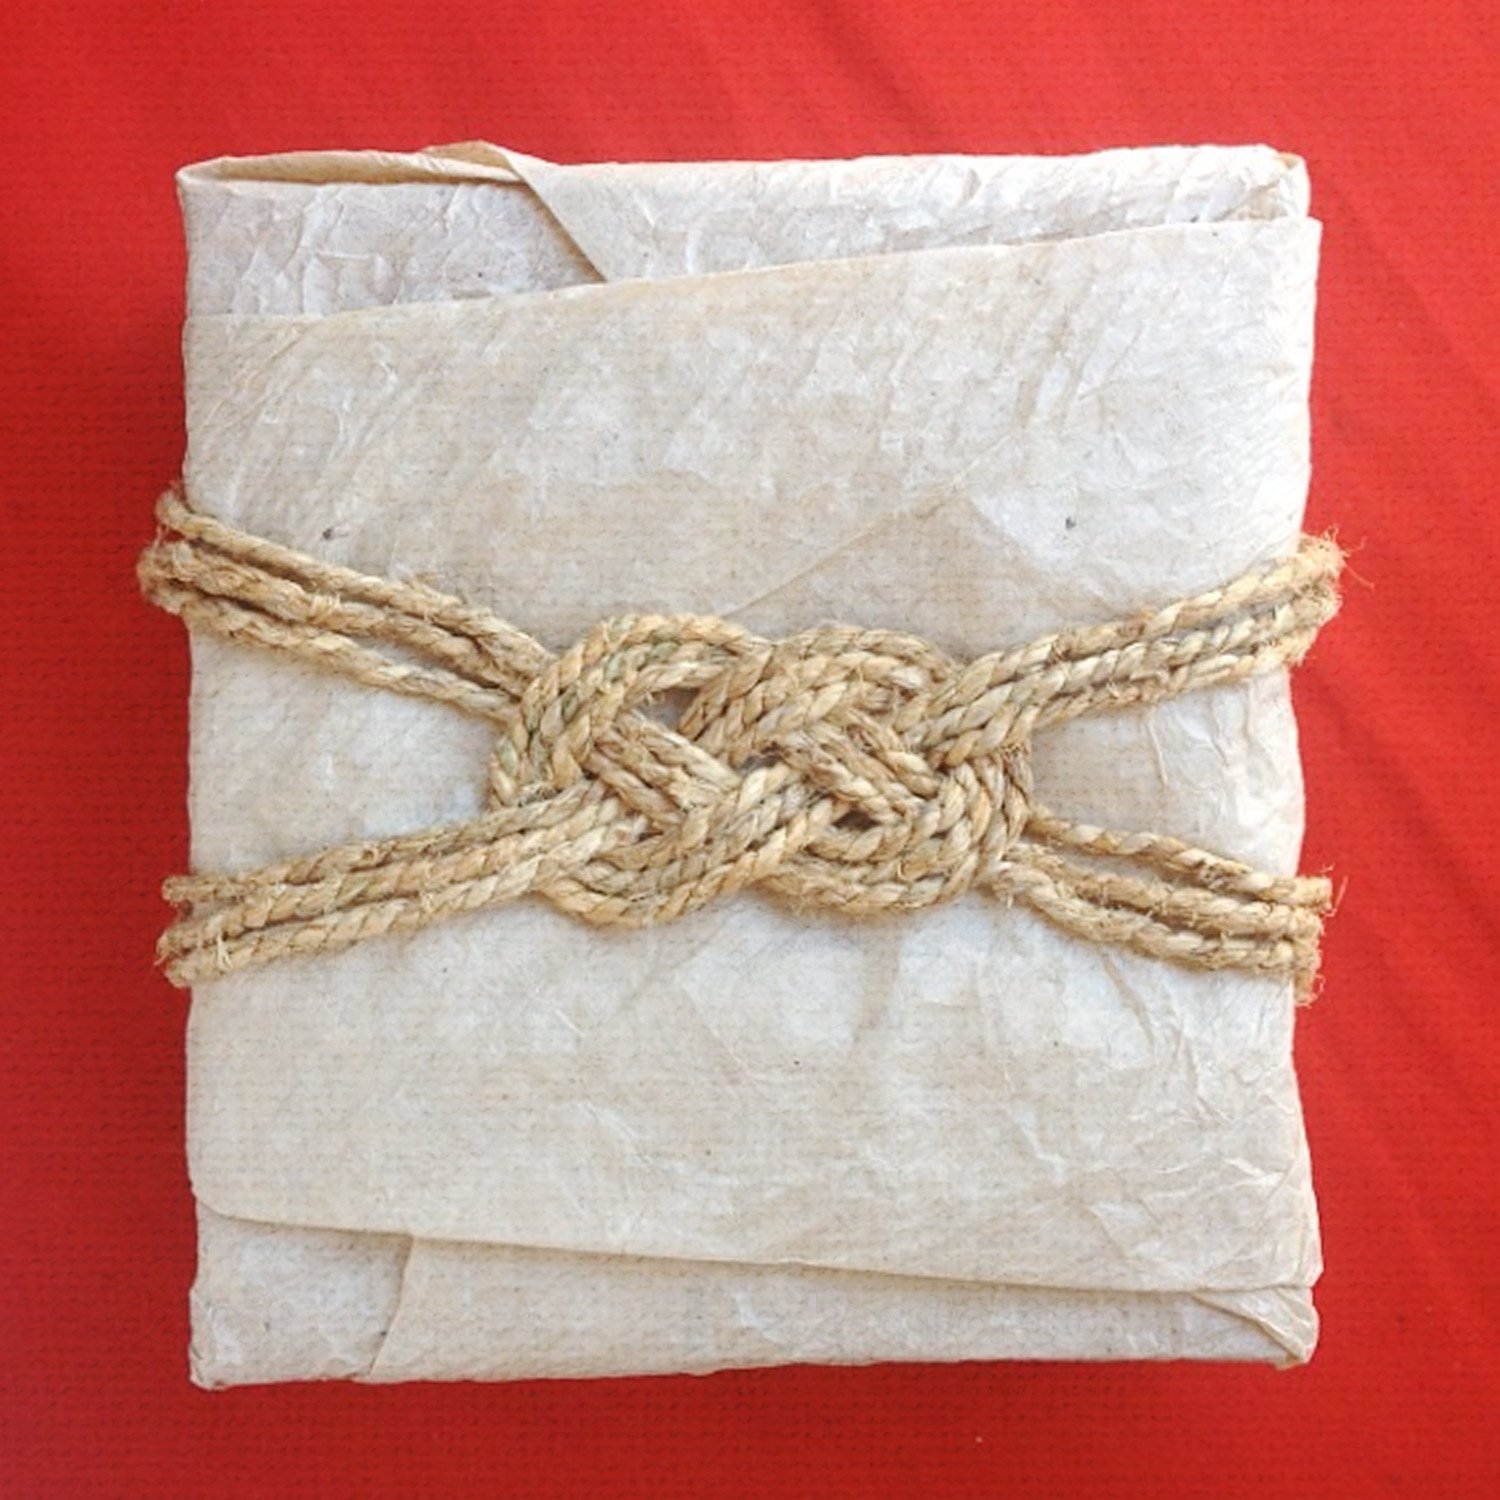
Wrap a present and finish it with a decorative knot.

Wrap a present and finish it with a decorative knot.

To estimate the length of cord:
To make a single layer knot, measure the circumference of the box + 30cm of cord
To make a triple layer knot, triple the above

Step 1
Fold the cord in half and start with this point.
Pull the bottom cord under and up to the top right

Step 2
Pull the bottom cord under the package and then over the loop then under this top cord

Step 3
Bring this cord down and over it at the original point then under.
Pull the top cord under the box and to the top left of the package.

Step 4
The cord will then go under, over and then under where the other cord ends.
Then with a mother cord, the same length, repeat  this process two or three times.,
or simply stitch the two ends together  and died it with the original cord.